Warning
Incomplete work instructions.
CSW-71D-CM Compressor Packaging
K. Packing (Quality Control Check # 3)
Once the Quality Control Check # 2 have been completed you can begin the packaging process.
Panels Clean / Paint Matches
This unit has several panels that close the unit.
Front Panel
The front panel is fit over the front of the unit making sure the pressure gauge fits neatly into the cutout and is fastened into place using the screws called out in the BOM.
Right Panel
Left Panel
Back Panel and Plate
Top Panel
Aeroquips Clean
CP / F-70 / HC-10 Handles Installed
Product Labels Applied
CryoSRV Logos Applied
Units W/O Casters On Foam Pads
All Panel Screws Installed
Caps and Plugs Installed
Tip & Tell Installed
Repair Labels Applied
K-2. PACKING INSTRUCTIONS
Preparation
Utilize a forklift to safely bring the unit down to the floor. If the unit is equipped with wheels, check if they are rolling properly.
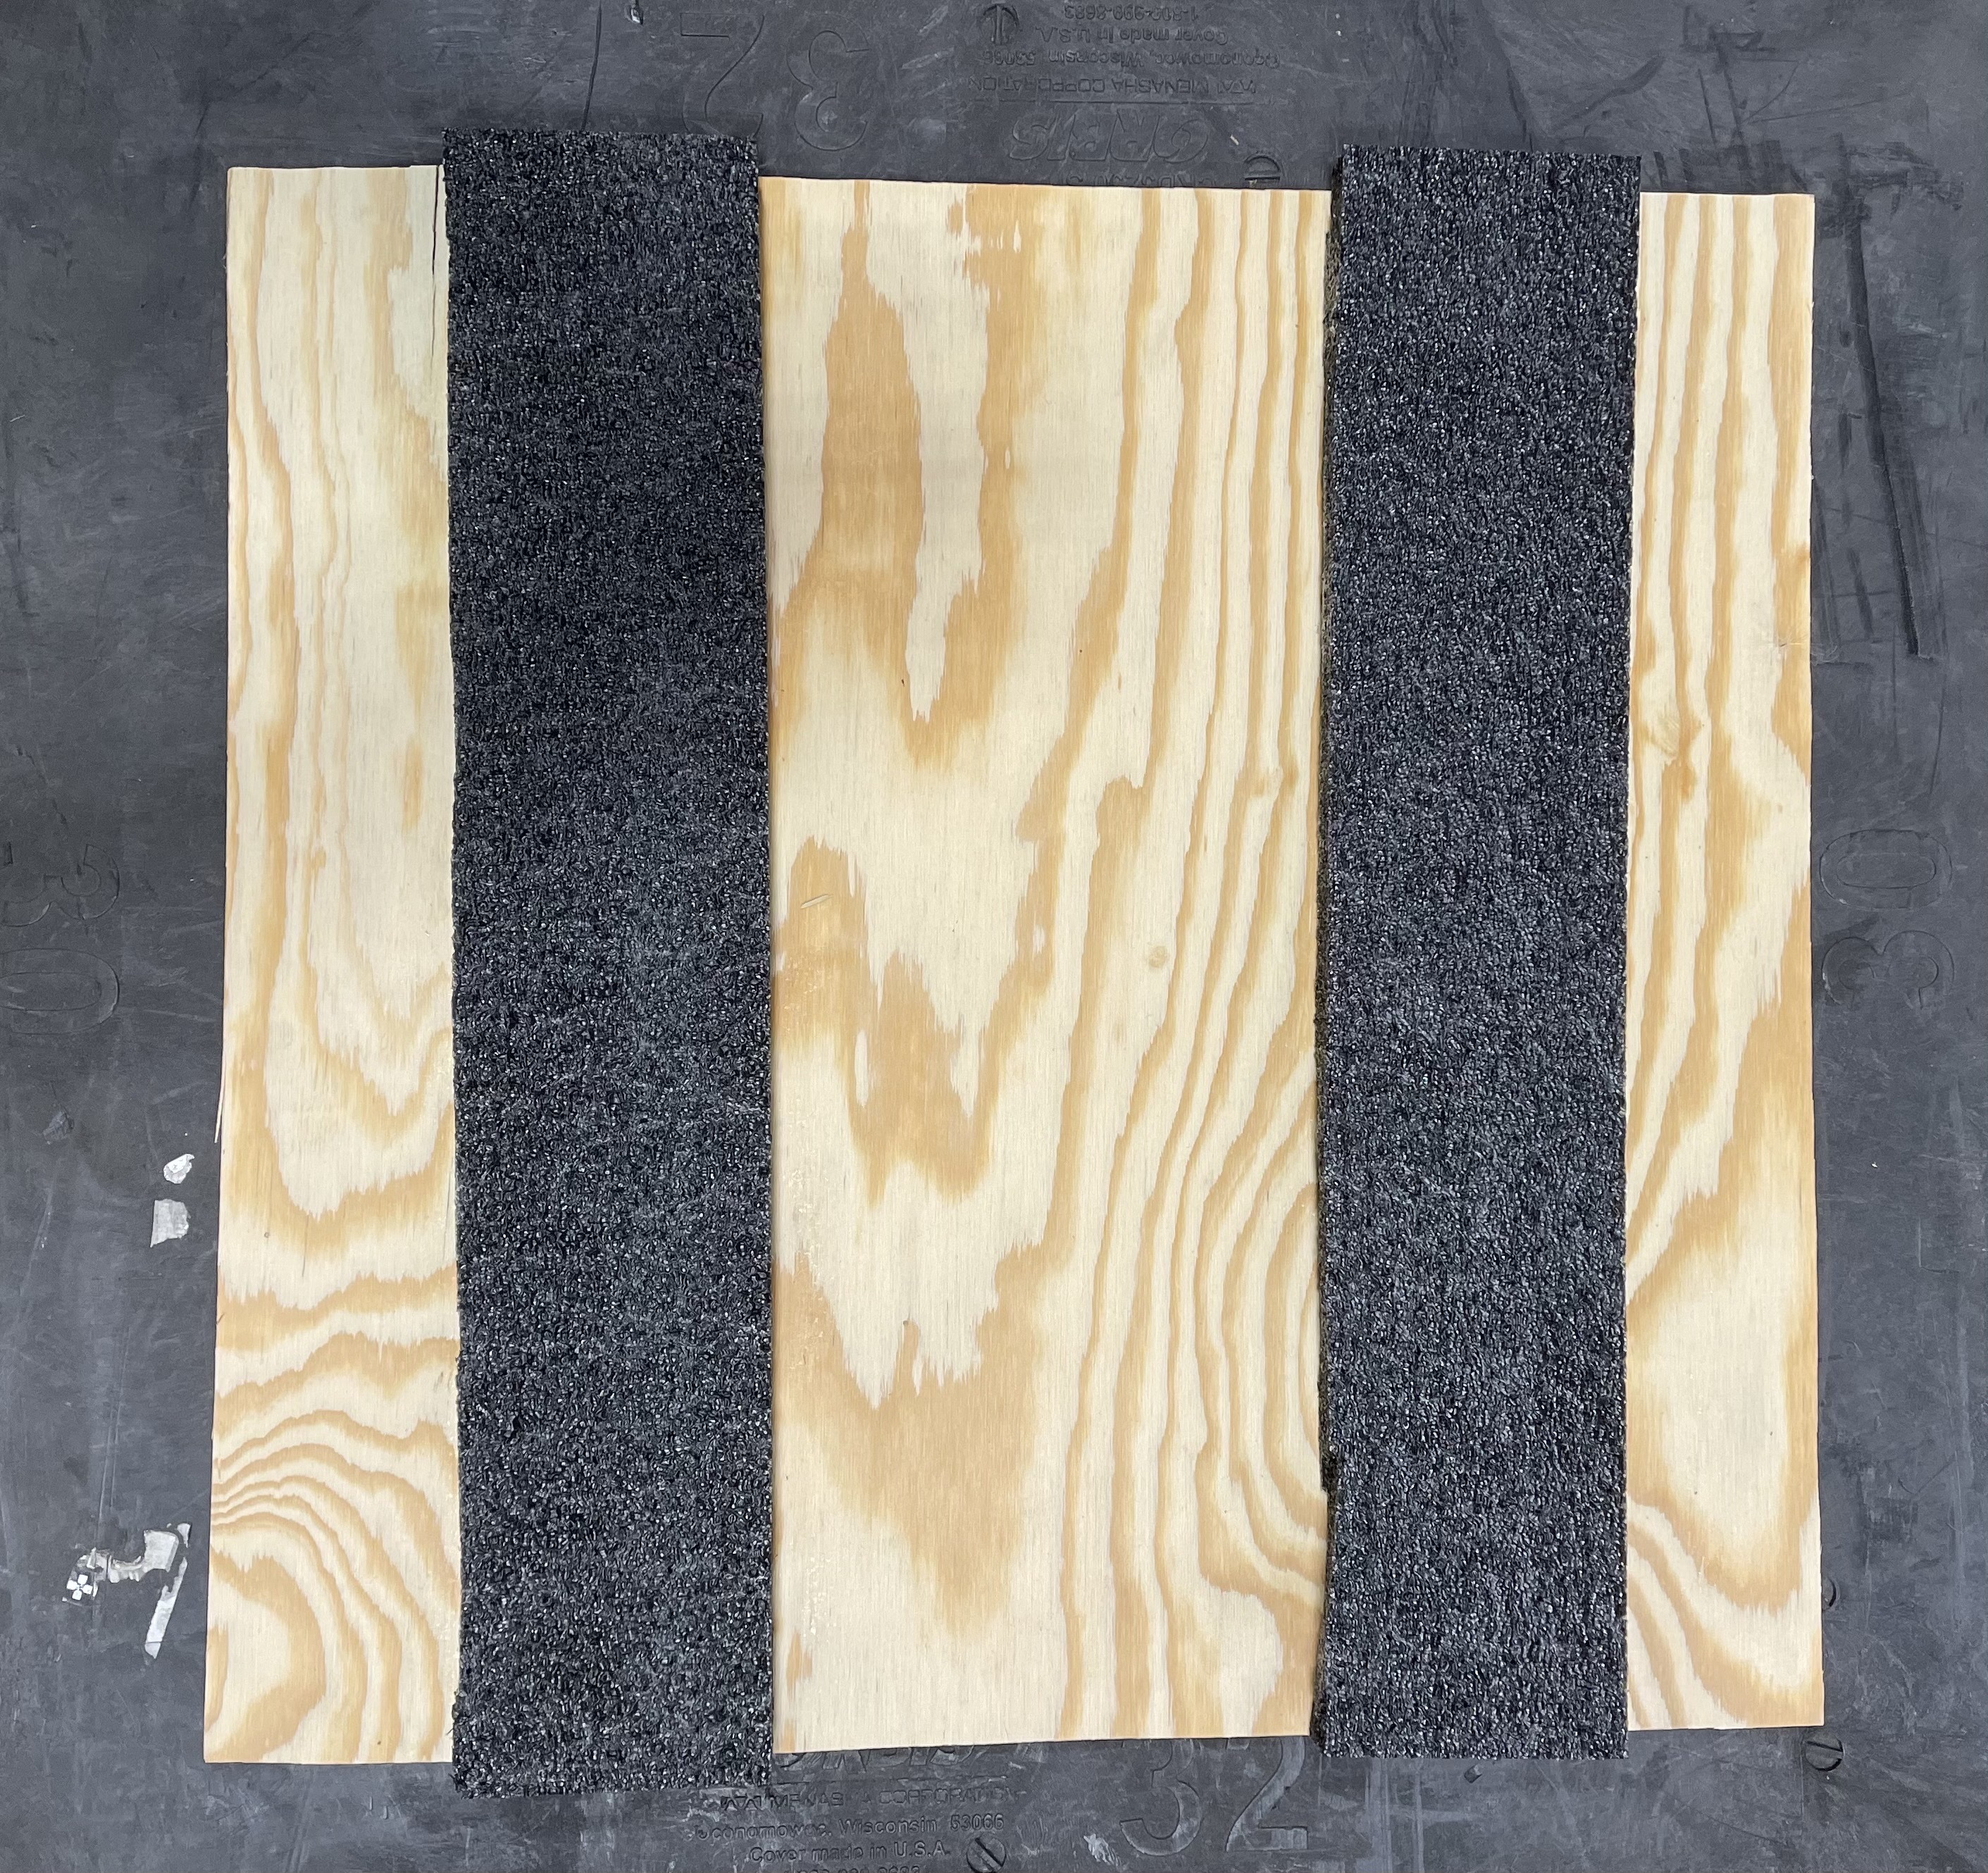
Crate Assembly
Prepare each crate with a wooden base measuring (22x19.5x¼) inch and lined with 3 inch foam across both sides.
CSW-71D-CM Unit Placement
Carefully place the compressor inside the crate using the forklift.
Finishing Touches
Add 1 inch foam in front of the unit to ensure the crate door can close securely. Clearly mark the crate with the work order and compressor model number. Attach the CM test paperwork to the crate.
