CM - Check In Form Rev PA
WO
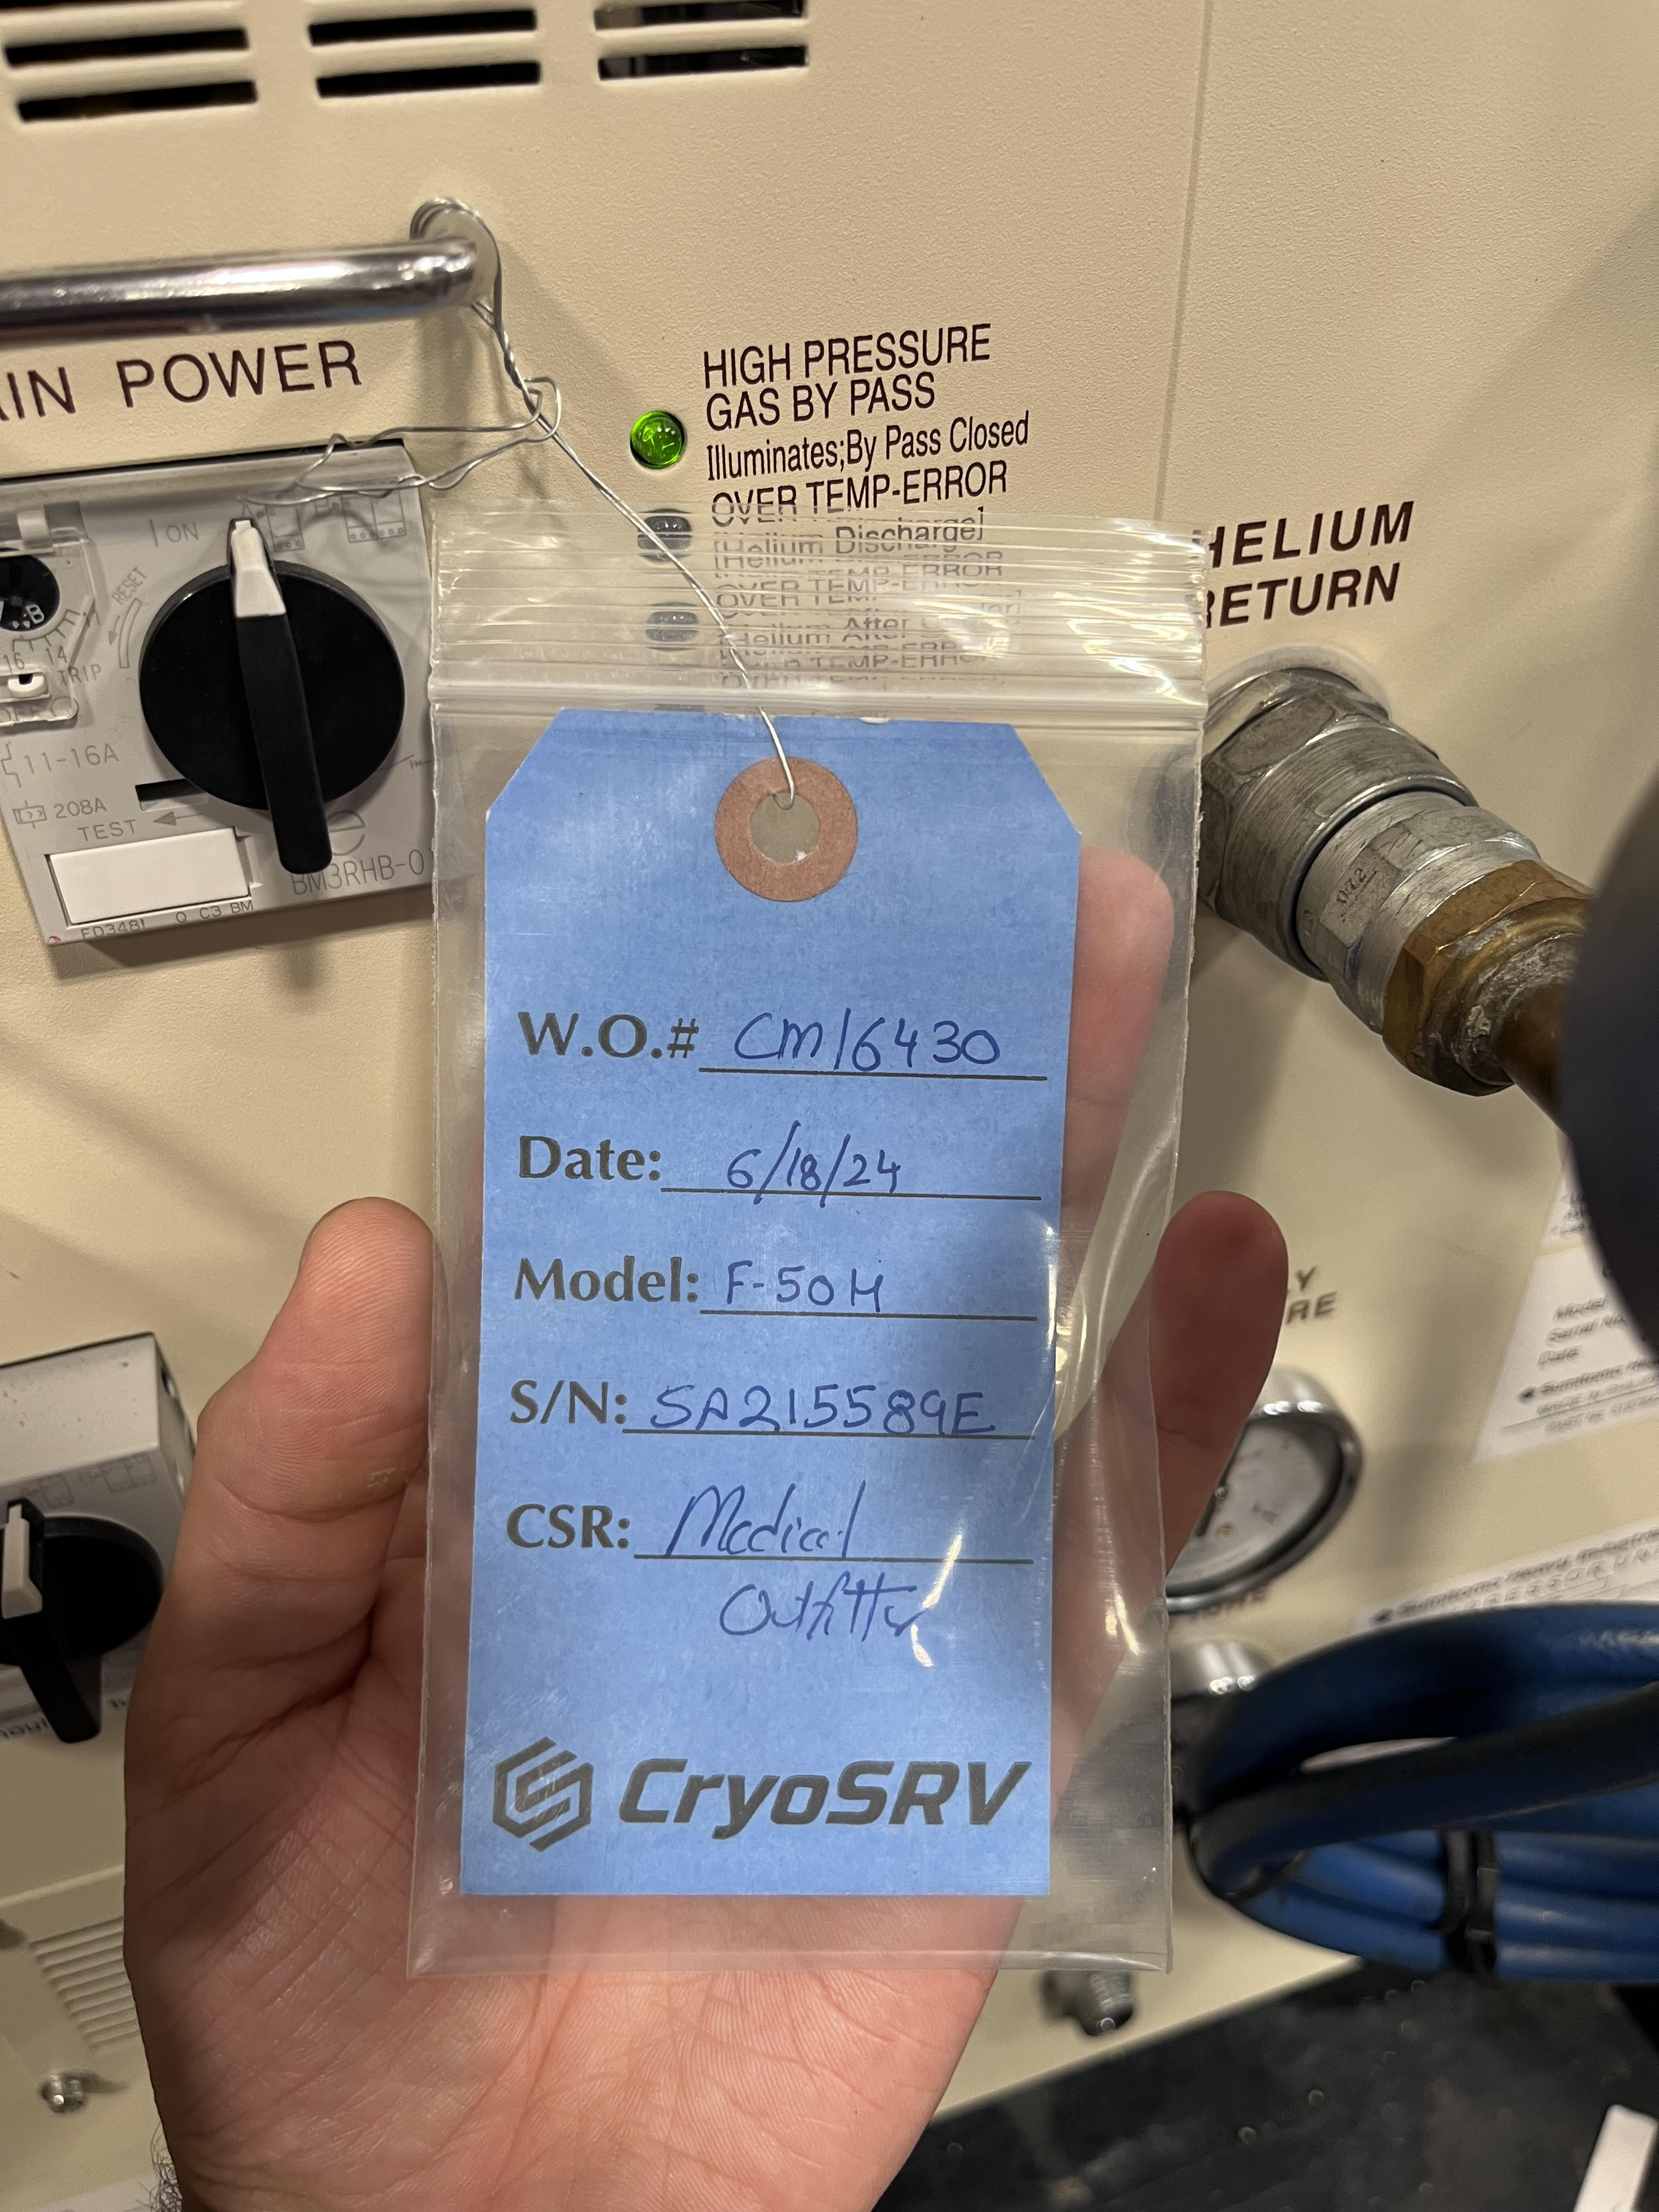
Enter the WO# associated with the compressor. The WO# can be found on the CryoSRV tag attached to the compressor. Ref figure below
Initial Compressor Pressure
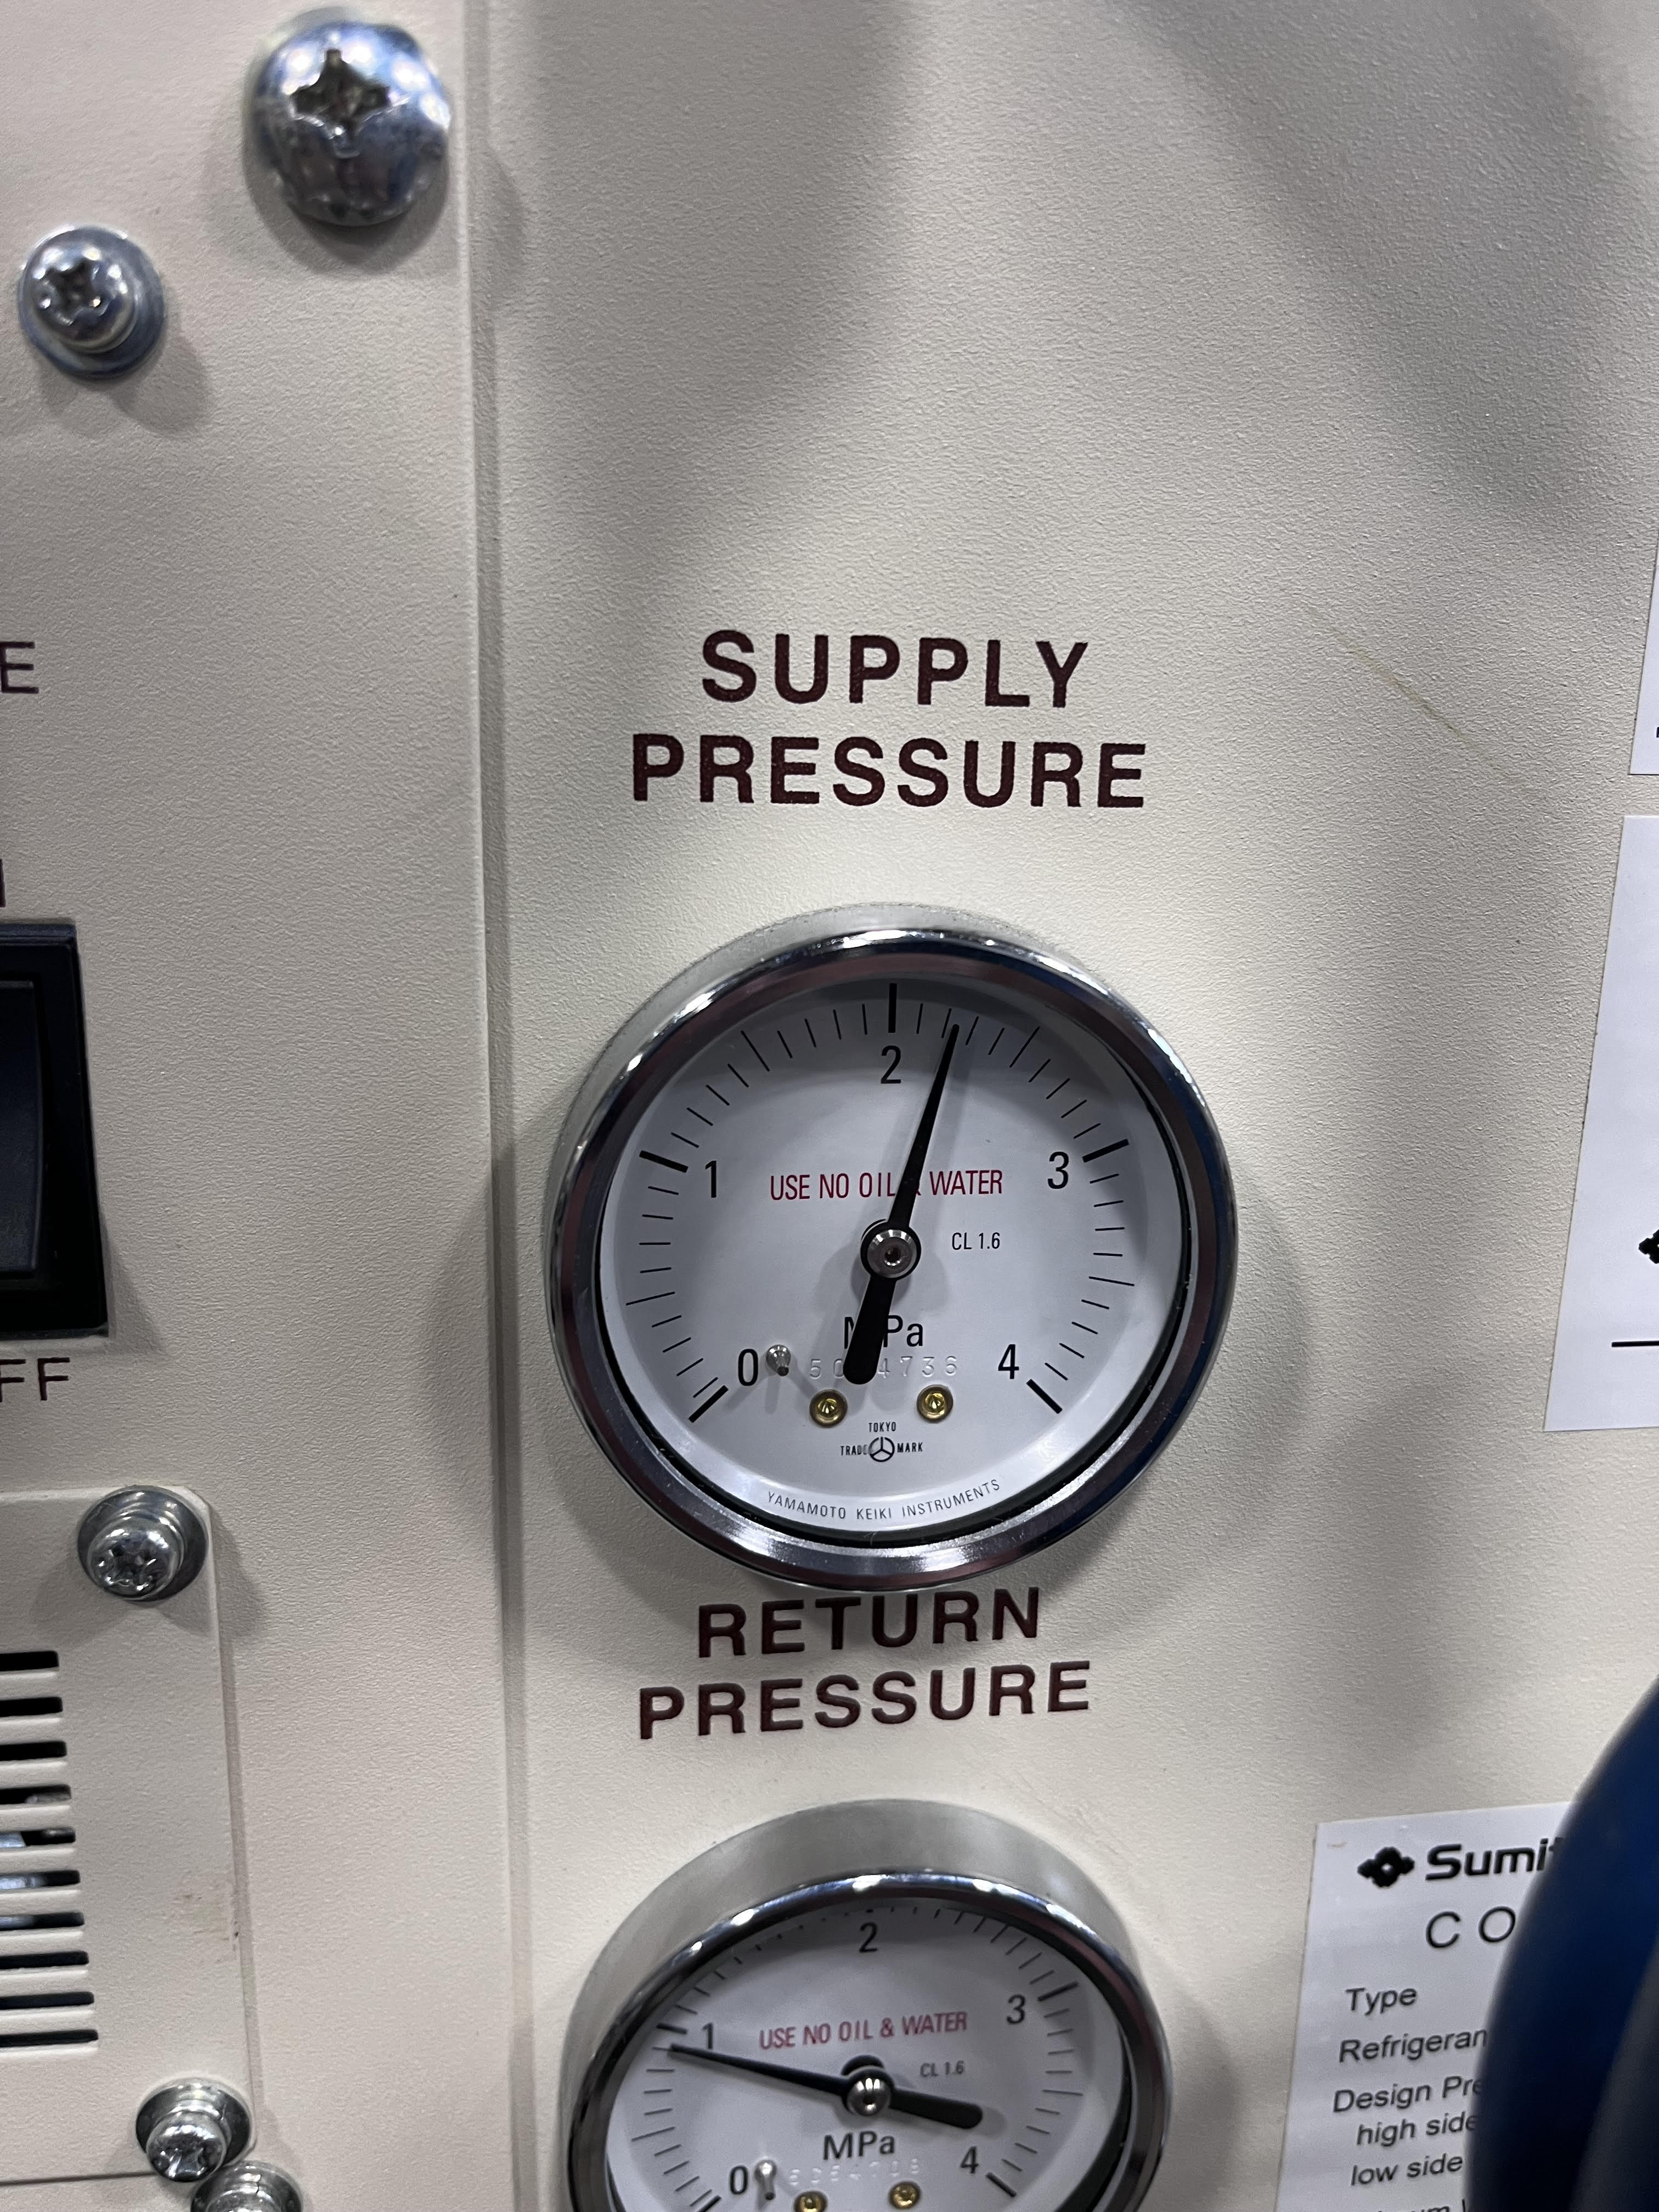
Enter the pressure indicated on compressor's SUPPLY PRESSURE GAUGE as compressor was received.
Capsule Resistances
Capsule Resistance values as measured using a multimeter.

Initial Compressor Hours
Record the number of hours indicated on the HOUR METER (HM)/ Elapsed Time Meter. This indicator can be found on the front side of the compressor unit.

Capsule Serial Number
Record the SN of the Compressor Capsule. Write down the OEM Compressor Capsule SN (if found). If no OEM SN found then obtain a blue seal tag and attach tag to the Compressor Capsule:
If the SN can not be found in the database, then it will need to be added to the database first before being recorded on the Check In Form. Follow steps in Add Serial Number Form to add a SN to the database.
While on the Check In Form, click on the hyperlink to be taken to the current Add Serial Number Form.
Once clicked, a new airtable page will open and take you to the Serial Number Adding Form.
Under "Serial Number" enter the serial number of the part to be added. Click on "Add" under "MRO - Parts List" In the F-50, the capsule is produced by Hitachi Appliances, Inc. To look up Hitachi Capsules parts search for "CAPS-HITA". Two entries will appear. Select the one with the approperiate voltage indicated on the capsule's OEM label.
Once the approperiate Part Number selected, click on Submit. A message will appear indicating your entries have been submitted. Close the airtable window. Go back to the Check In Form and look up the serial number of the capsule. The serial number must appear in the drop down list. If, the serial number does not appear, then the steps above have to be repeated.
Heat Exchanger Serial Number
Record the SN of the Heat Exchanger. Write down the OEM Heat Exchanger (HX) SN (if found). If no OEM SN found or OEM SN found unreadable then obtain a blue seal tag and attach tag to the HX as show in Figure below. Please note that the HX on the F-50 is made by GEA and the OEM label will show the serial number of the HX. See figure below for reference.
Oil Seperator Serial Number
Record the SN of the Oil Seperator(s). Write down the OEM Oil Seperator SN (if found). If no OEM SN found then obtain a blue seal tag and attach tag to the Oil Seperator as shown in figure below
If the SN can not be found in the database, then it will need to be added to the database first before being recorded on the Check In Form. Follow steps below to add a SN to the database. While on the Check In Form, click on the link below Add Serial Number.
Once clicked, a new airtable page will open and take you to the Serial Number Adding Form.
Under "Serial Number" enter the serial number of the part to be added. Click on "Add" under "MRO - Parts List" Oil Seperator Part Number can be looked up by typing "SEP-" followed by the Compressor Type.
Check In Notes
This is an optional field to record any information you need documented.
Attachments
This is an optional field to attach any pictures or related documents. Click on Submit to submit the Check In Form. A new entry for the WO should appear in CryoSRV Database under Test Data.