Item Request Lot Verification
Certain items received against a PO require additional quality checks to ensure they meet the necessary specifications. This work instruction outlines the process of taking the items from the QC shelf through the quality checks pass/fail specifications.
Gather Documentation
Select the lot from the QC shelf to be verified and its documentation. This should include a lot verification document, packing slip, and an internal PO document. The packing slip will be provided from logistics.
Internal PO Document
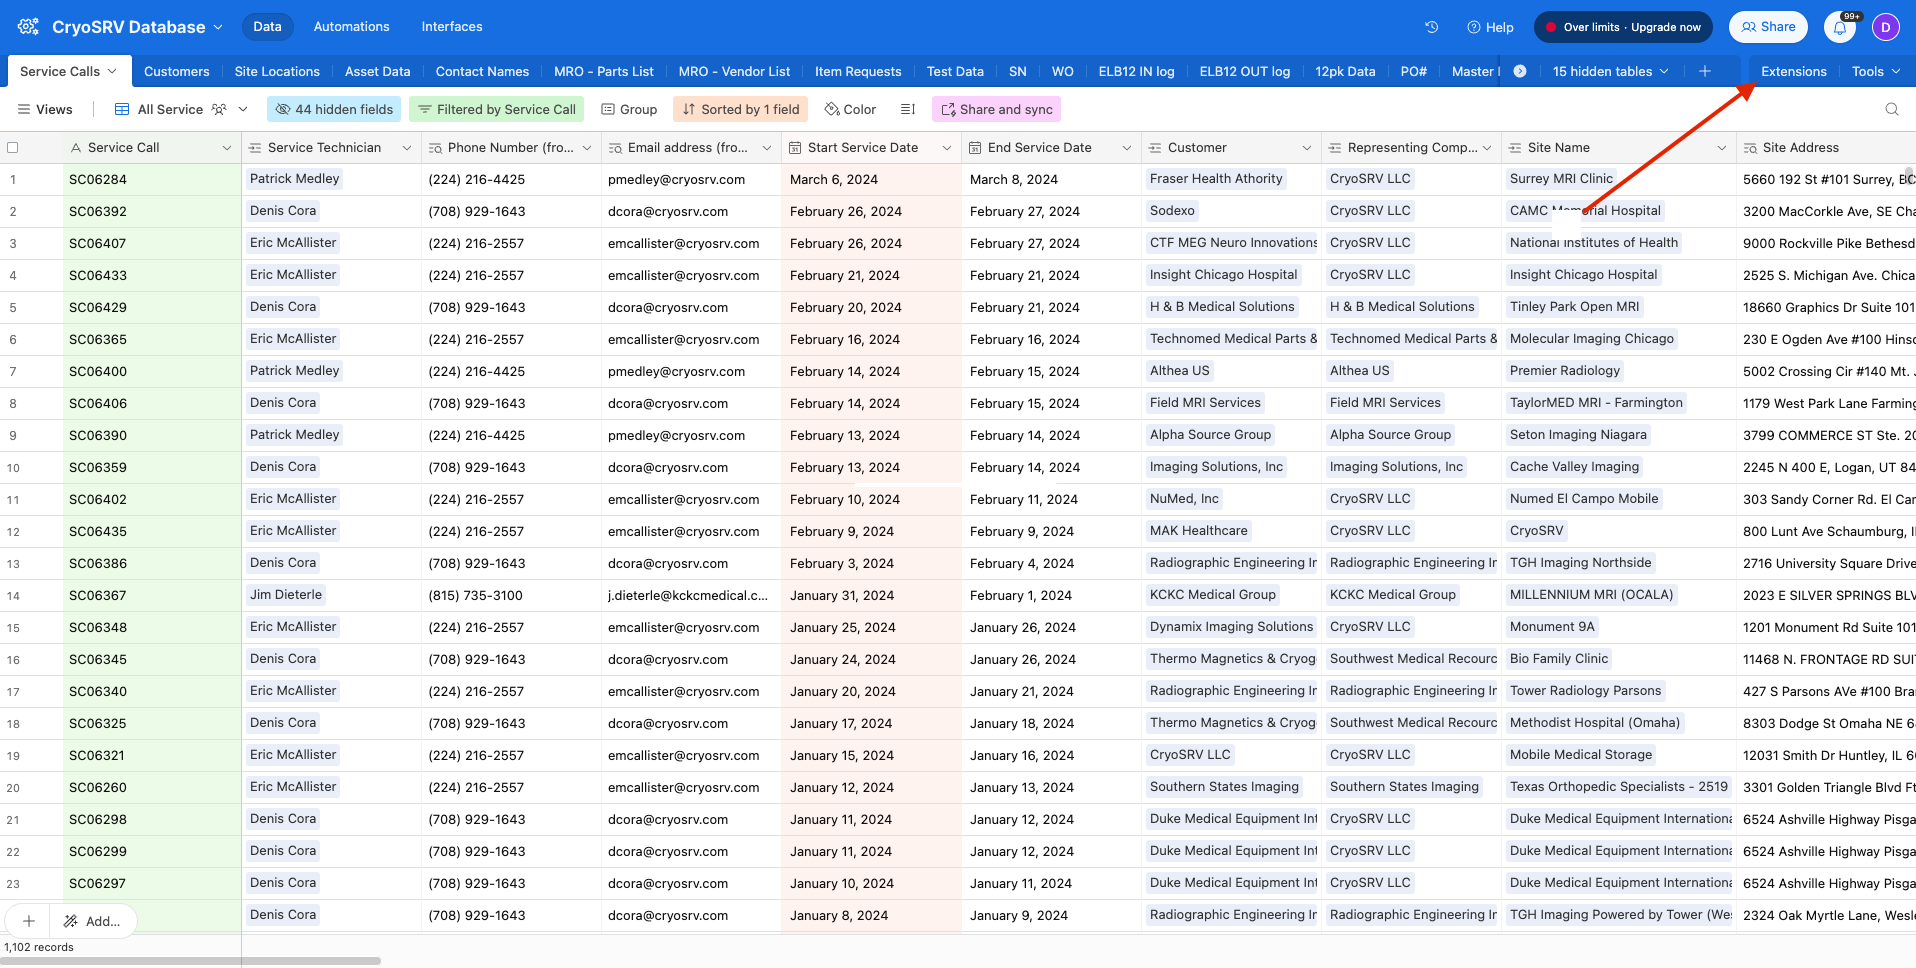
To gather the internal PO document, navigate to Airtable and open the extensions dropdown.
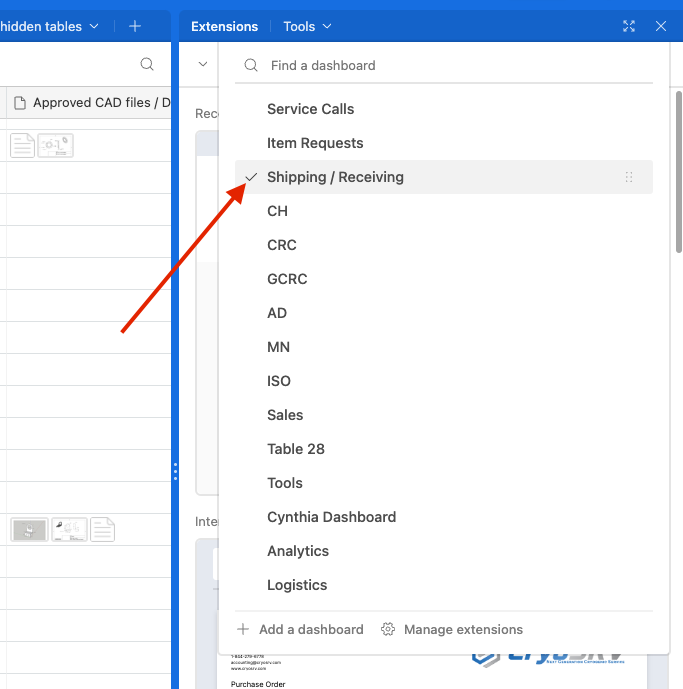
Select the dashboard labeled "Shipping / Receiving".
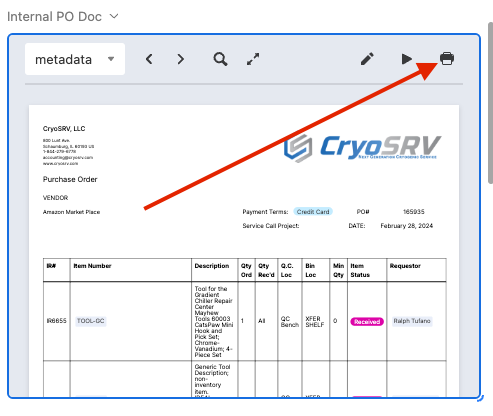
Scroll through the shipping / receiving dashboard for the internal PO document and expand it. Type the PO number into the search bar and select the PO from the dropdown. Verify this is the correct PO and that the parts match the line with the corresponding IR number. If all this matches, print out the document.
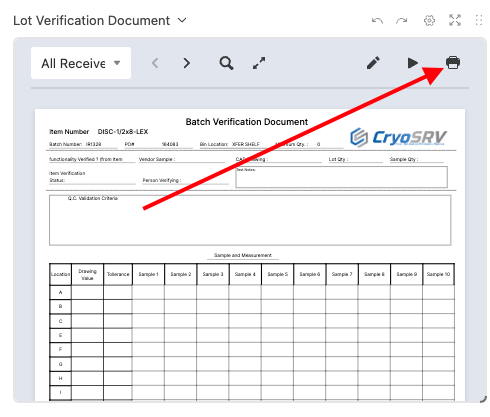
Lot Verification Document
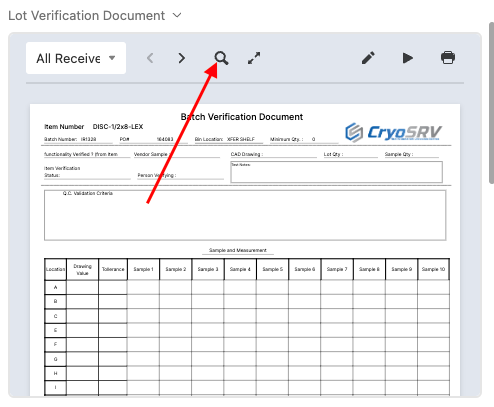
Once again, scroll through the shipping / receiving dashboard for the lot verification document and expand it. In the search glass, enter the specific item request number for the lot of items that needs to be verified and print the lot verification document.
Approved Drawing
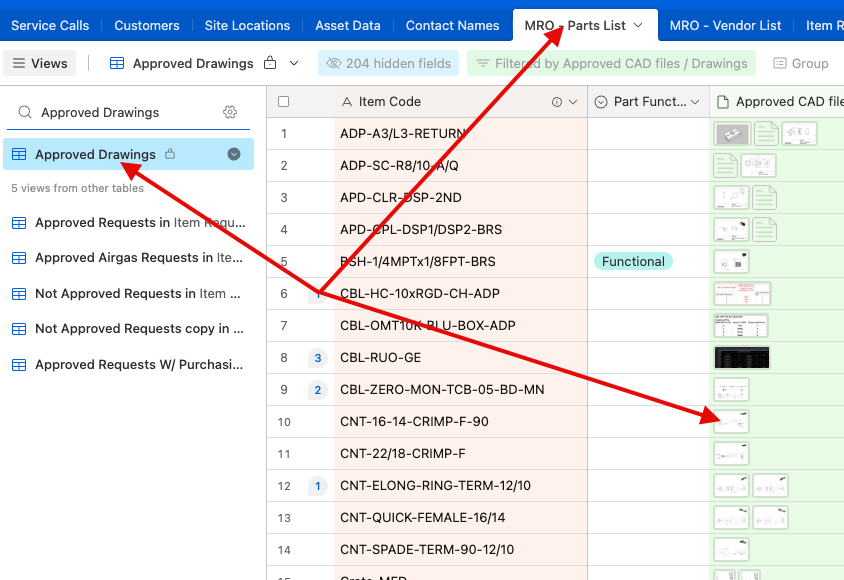
For the approved drawing of the item to use as the reference document, navigate to the data table labeled "MRO - Parts List" and select the view "Approved Drawings". Print the approved drawing.
Organizing the Lot
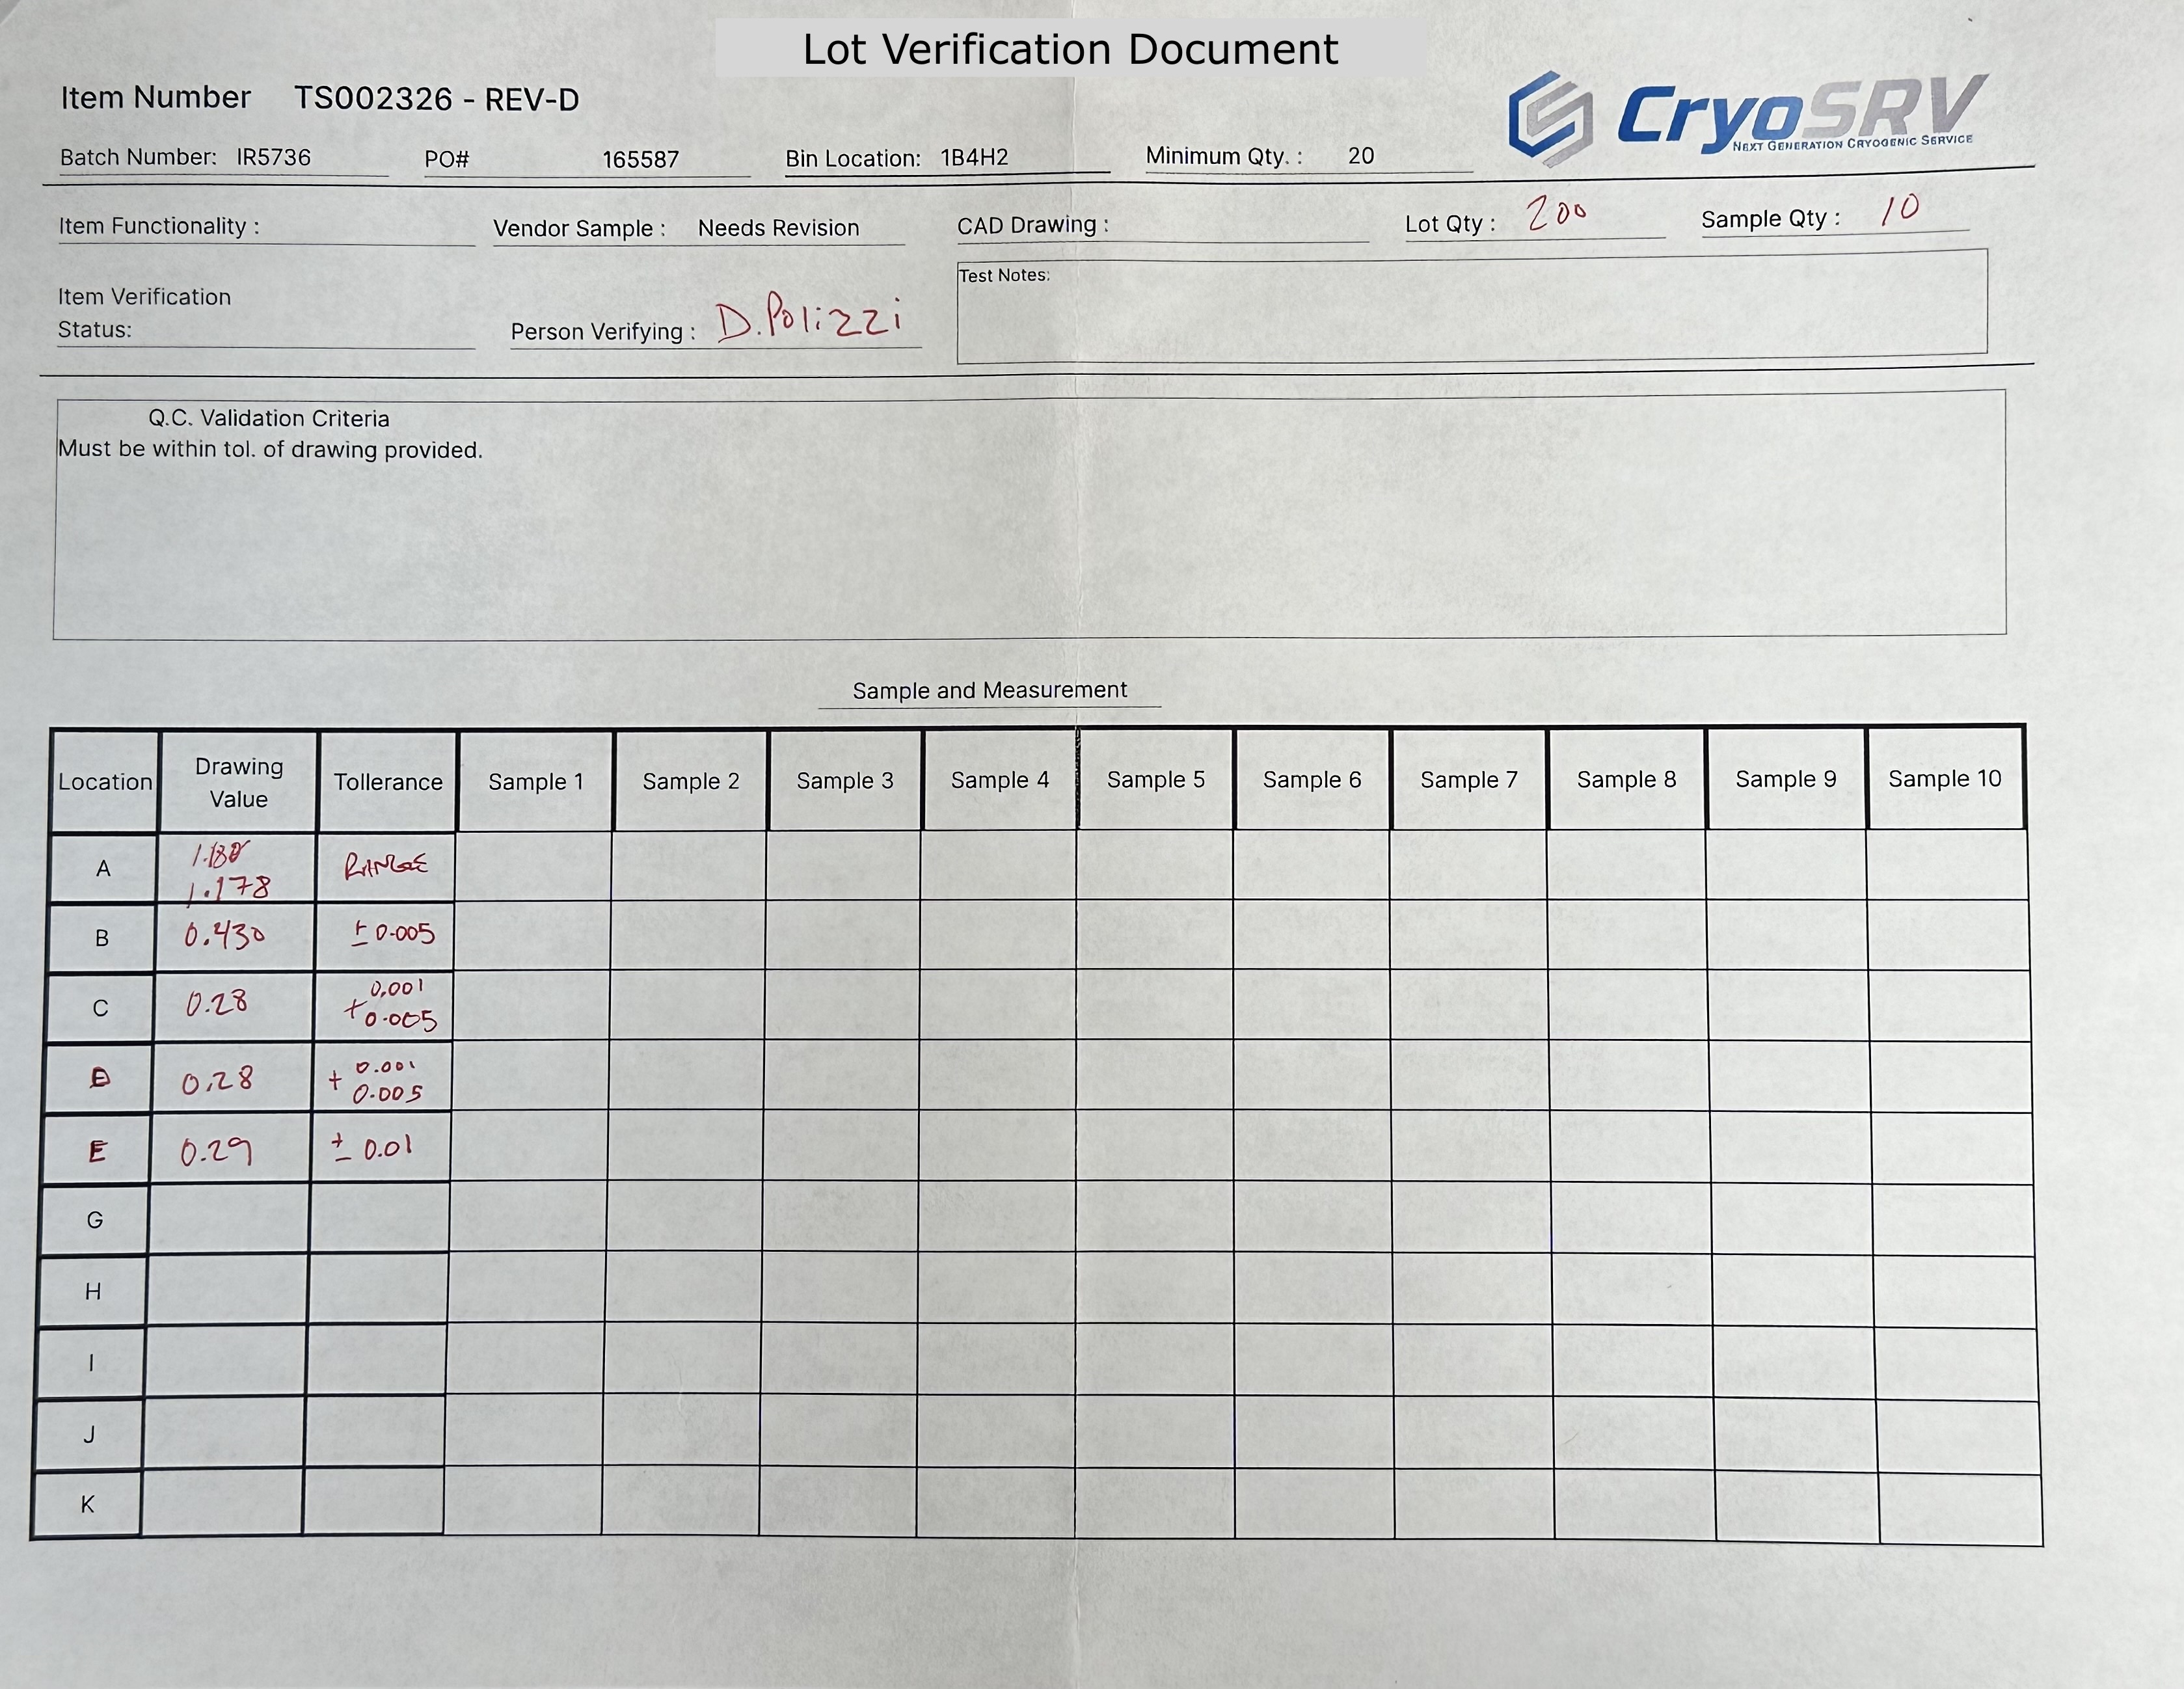
With all these documents gathered you must next establish the lot quantity and the sample quantity and record it on the lot verification document. There is also a minimum quantitiy noted on the lot verification document.
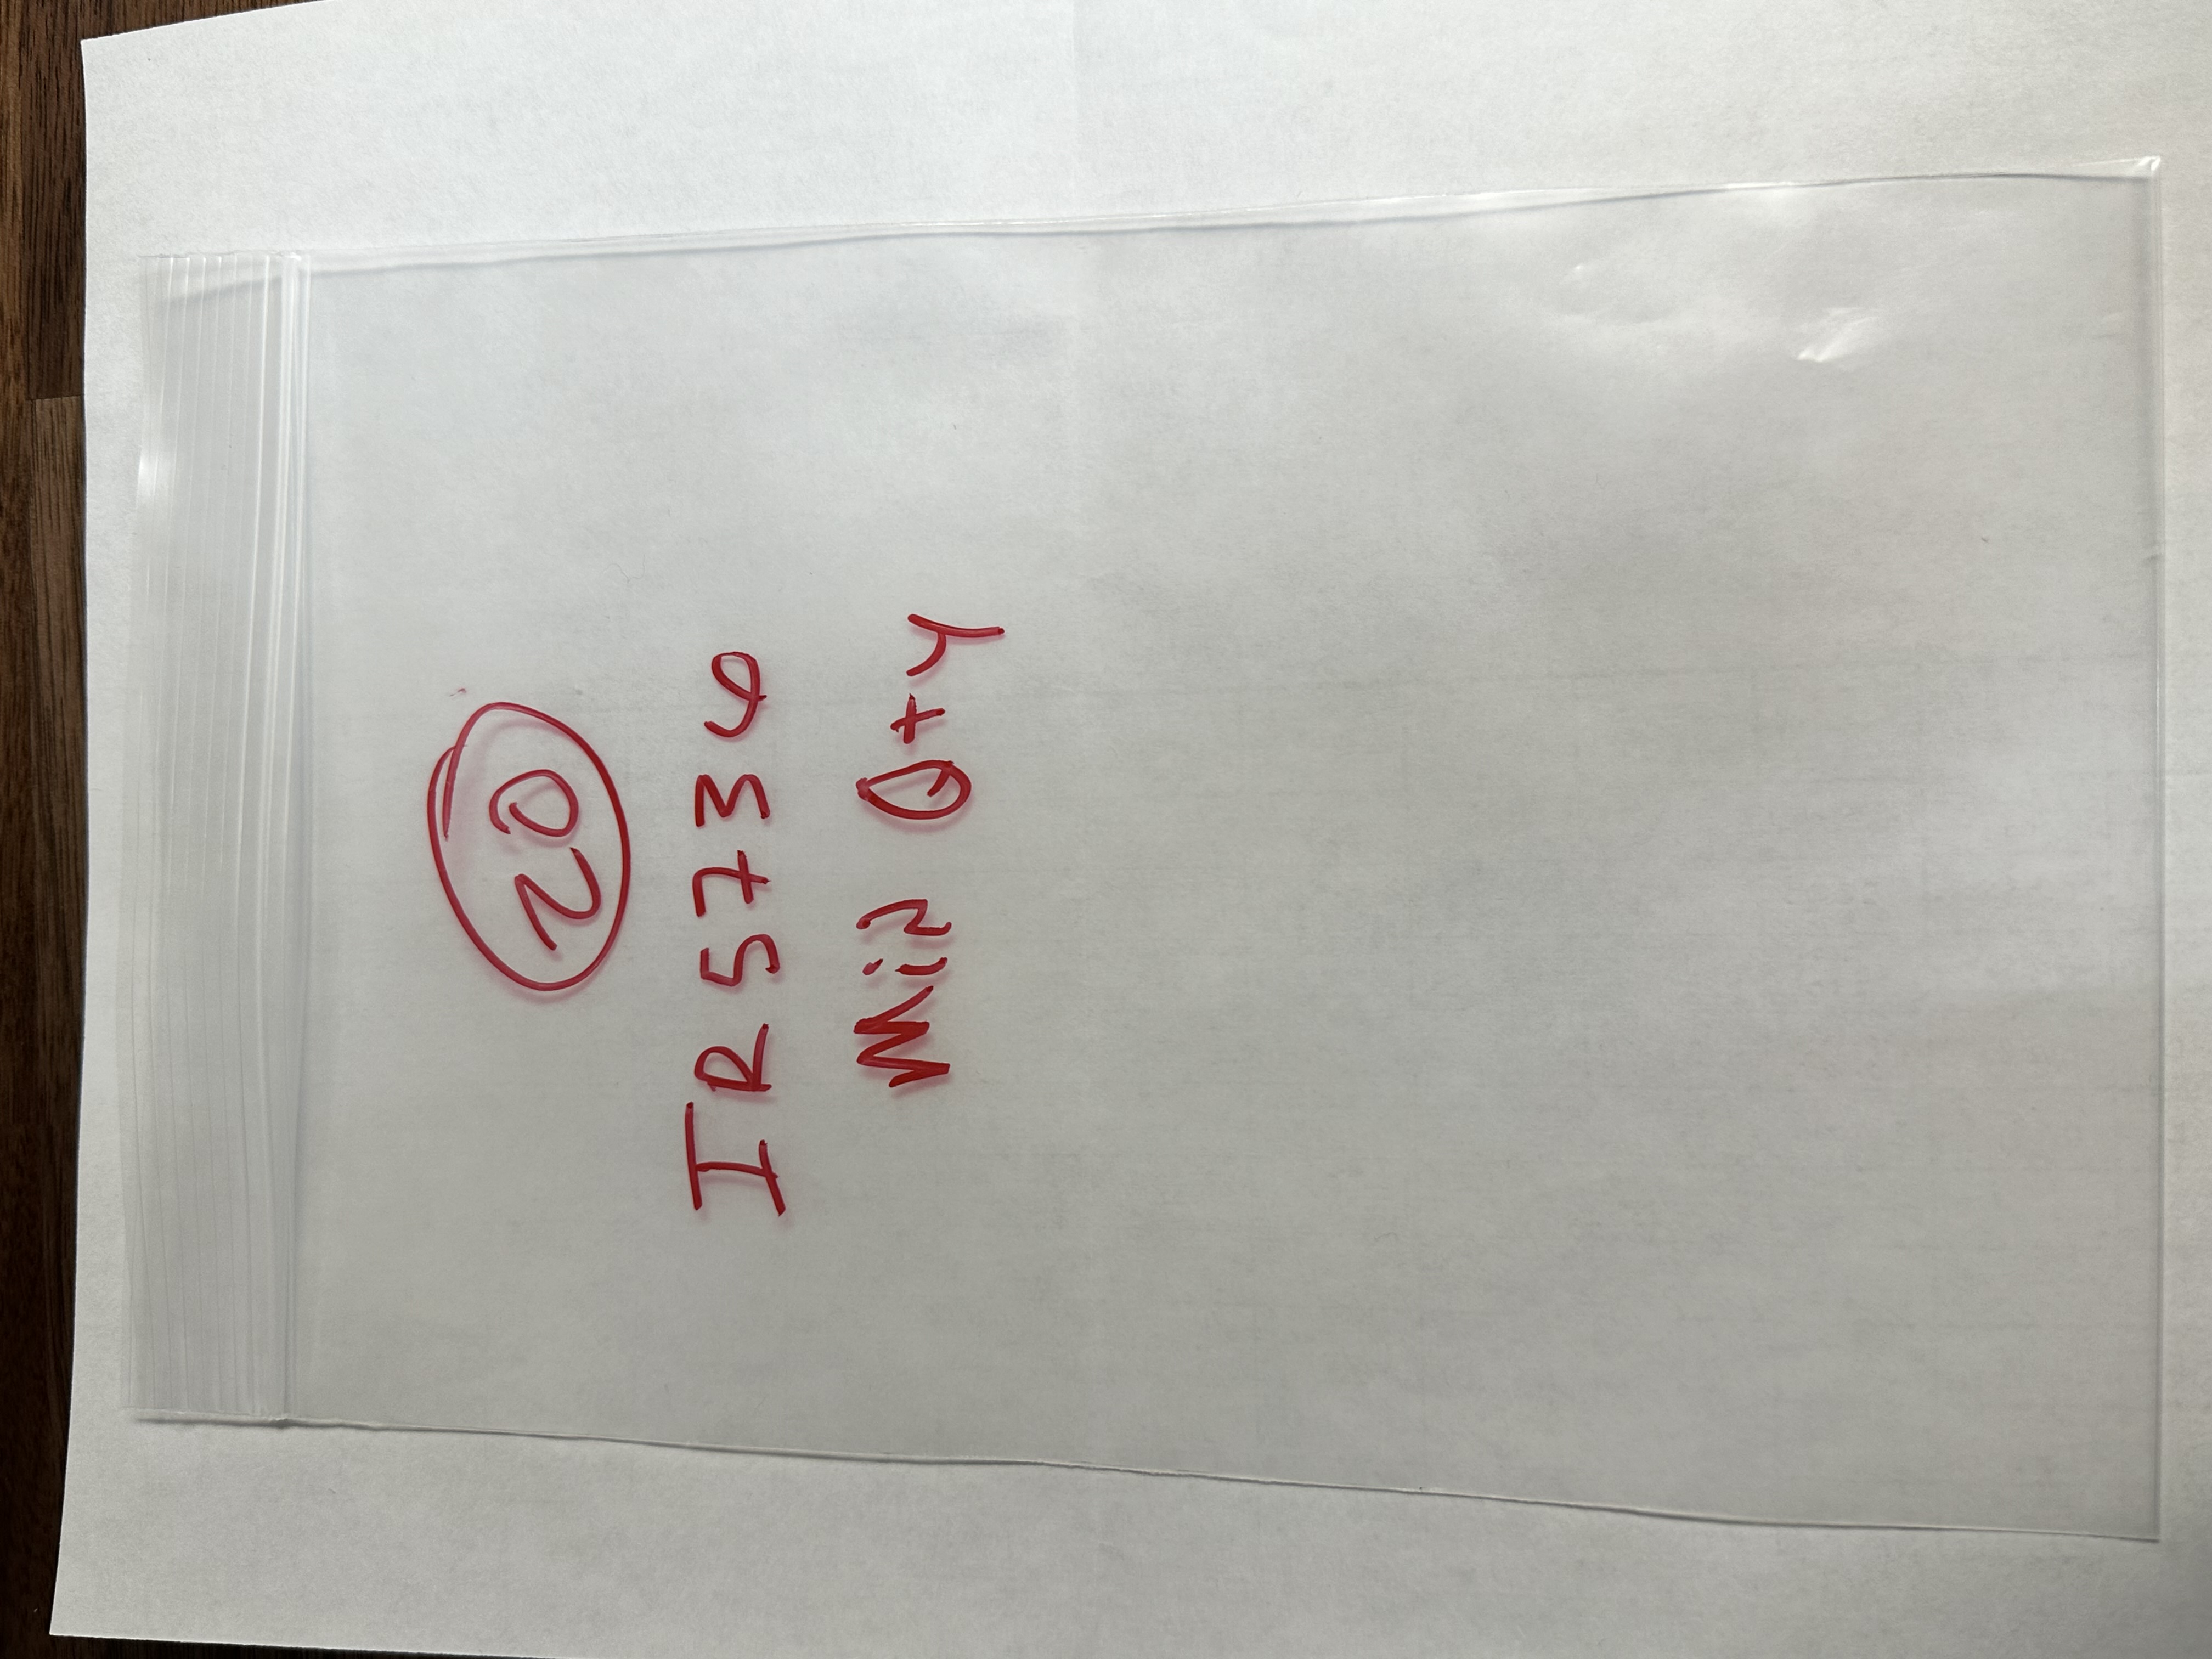
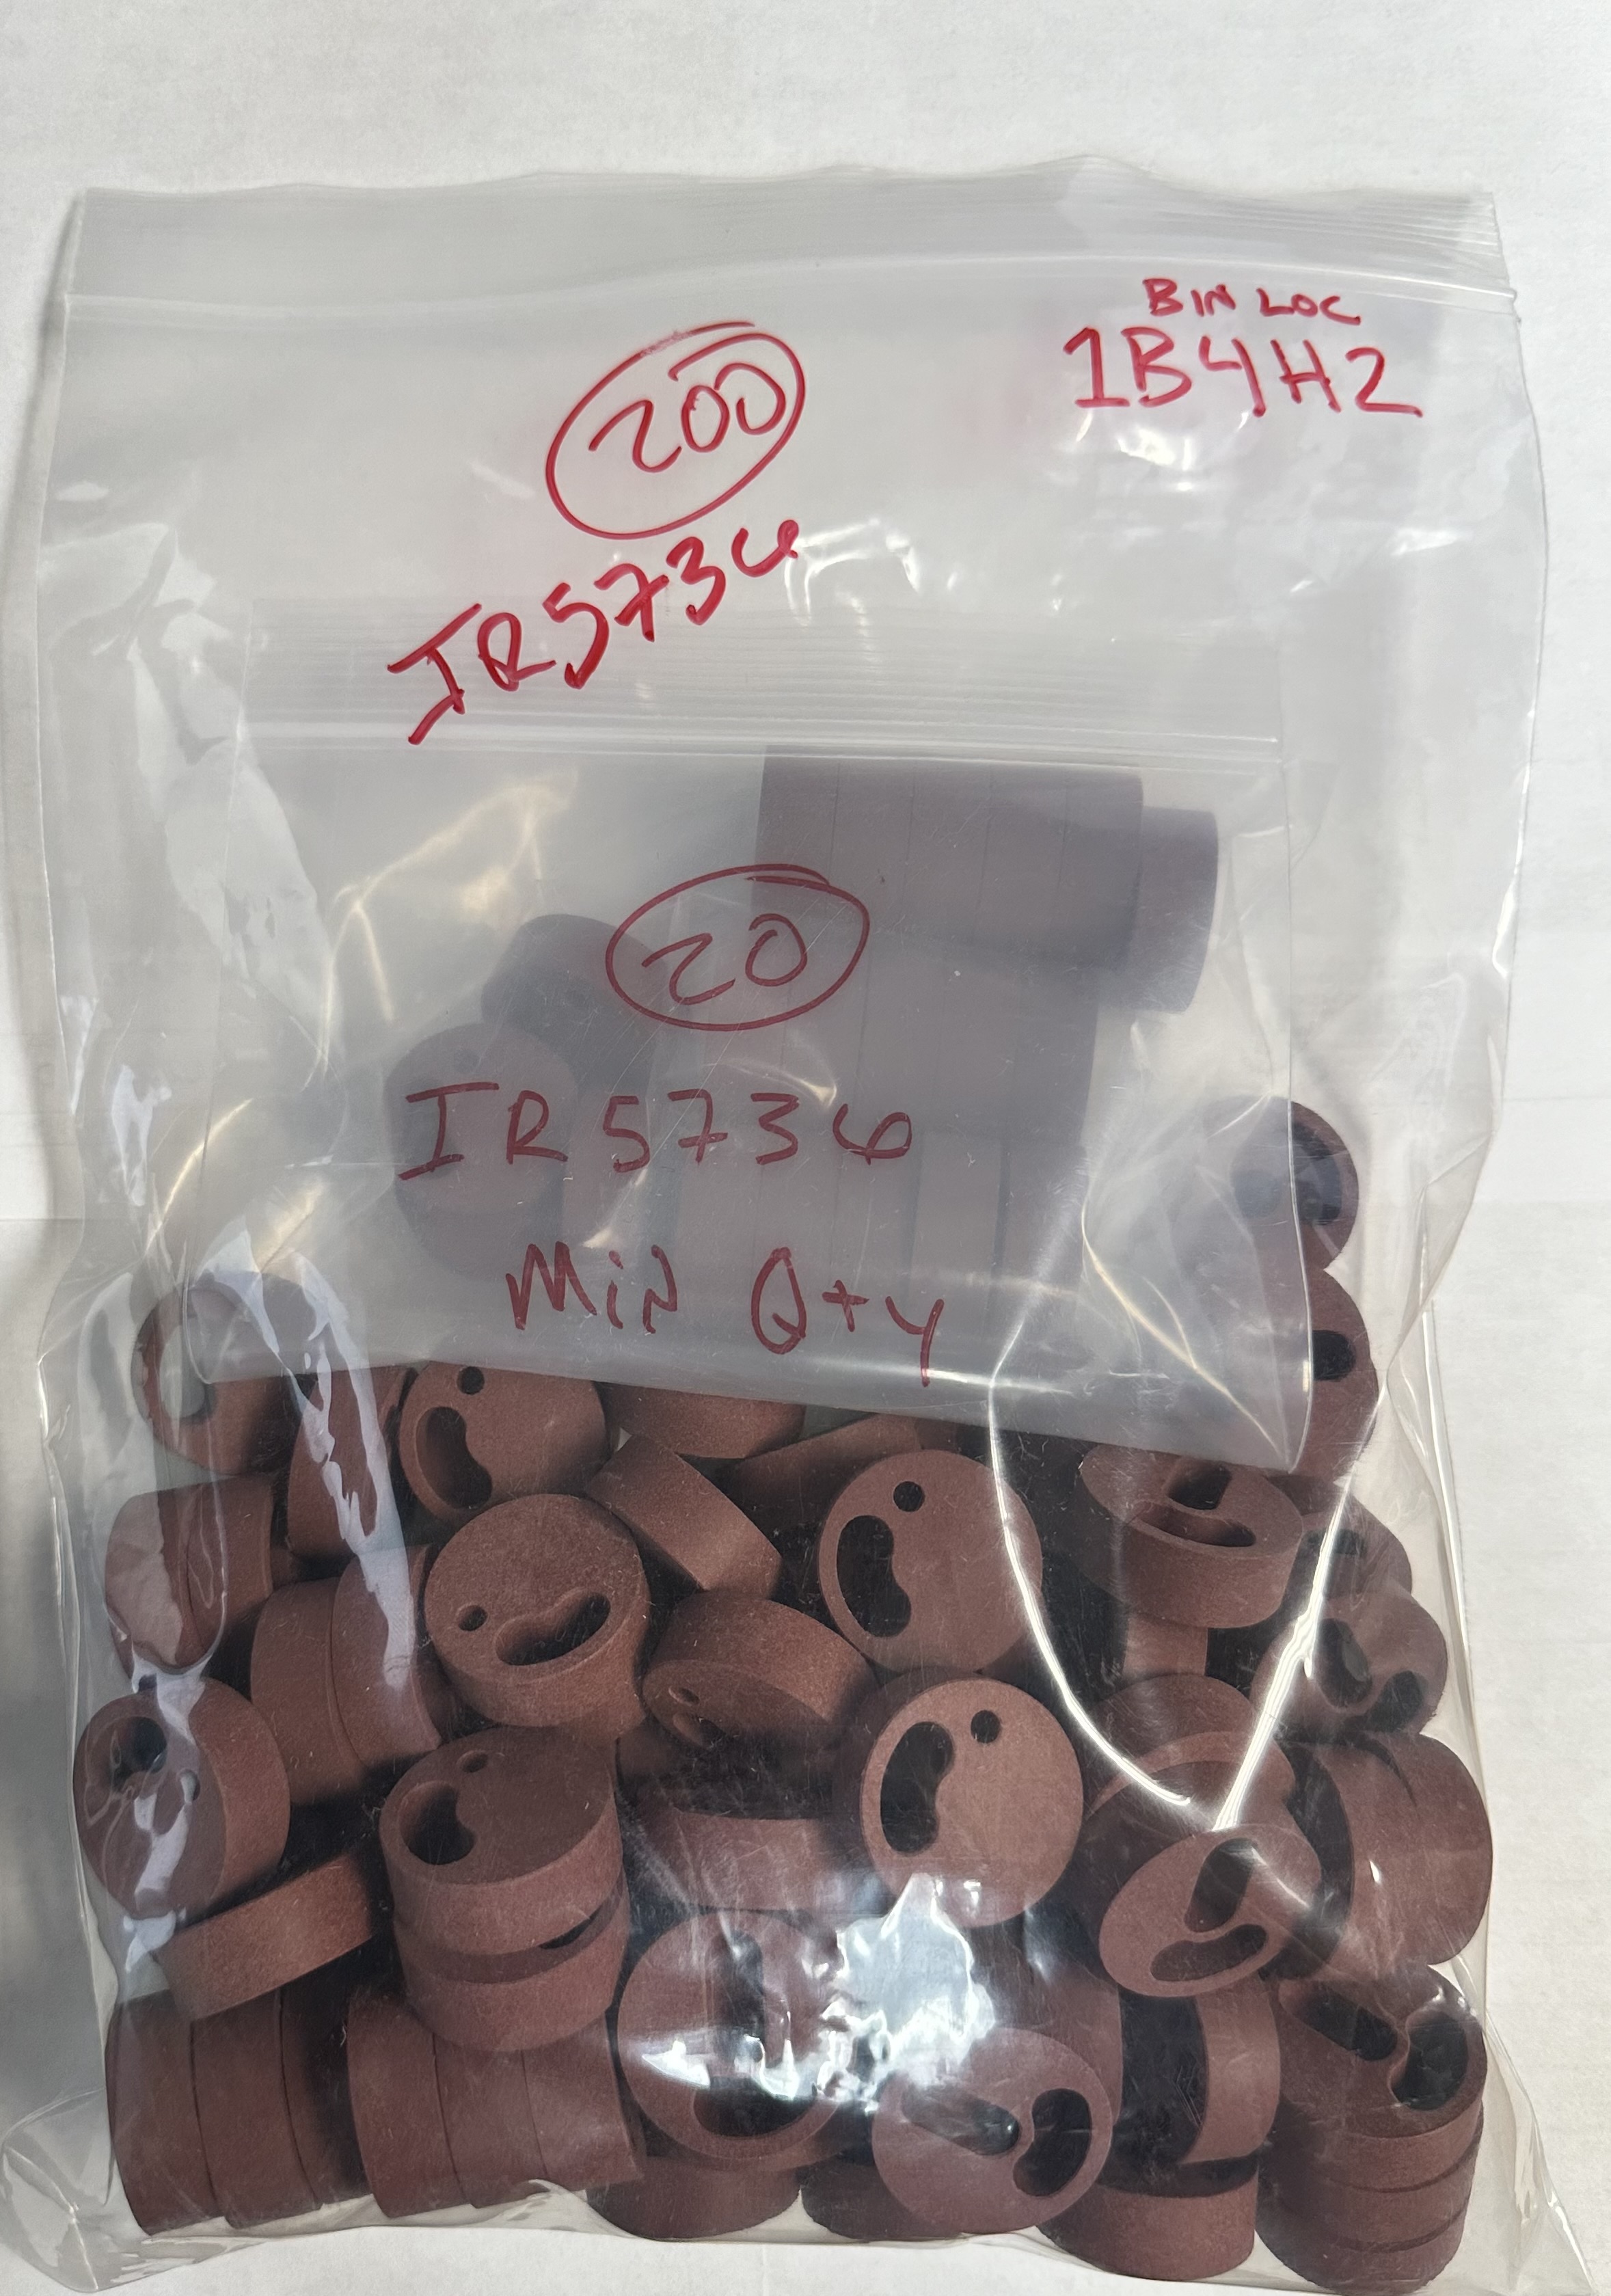
Minimum Quantitiy
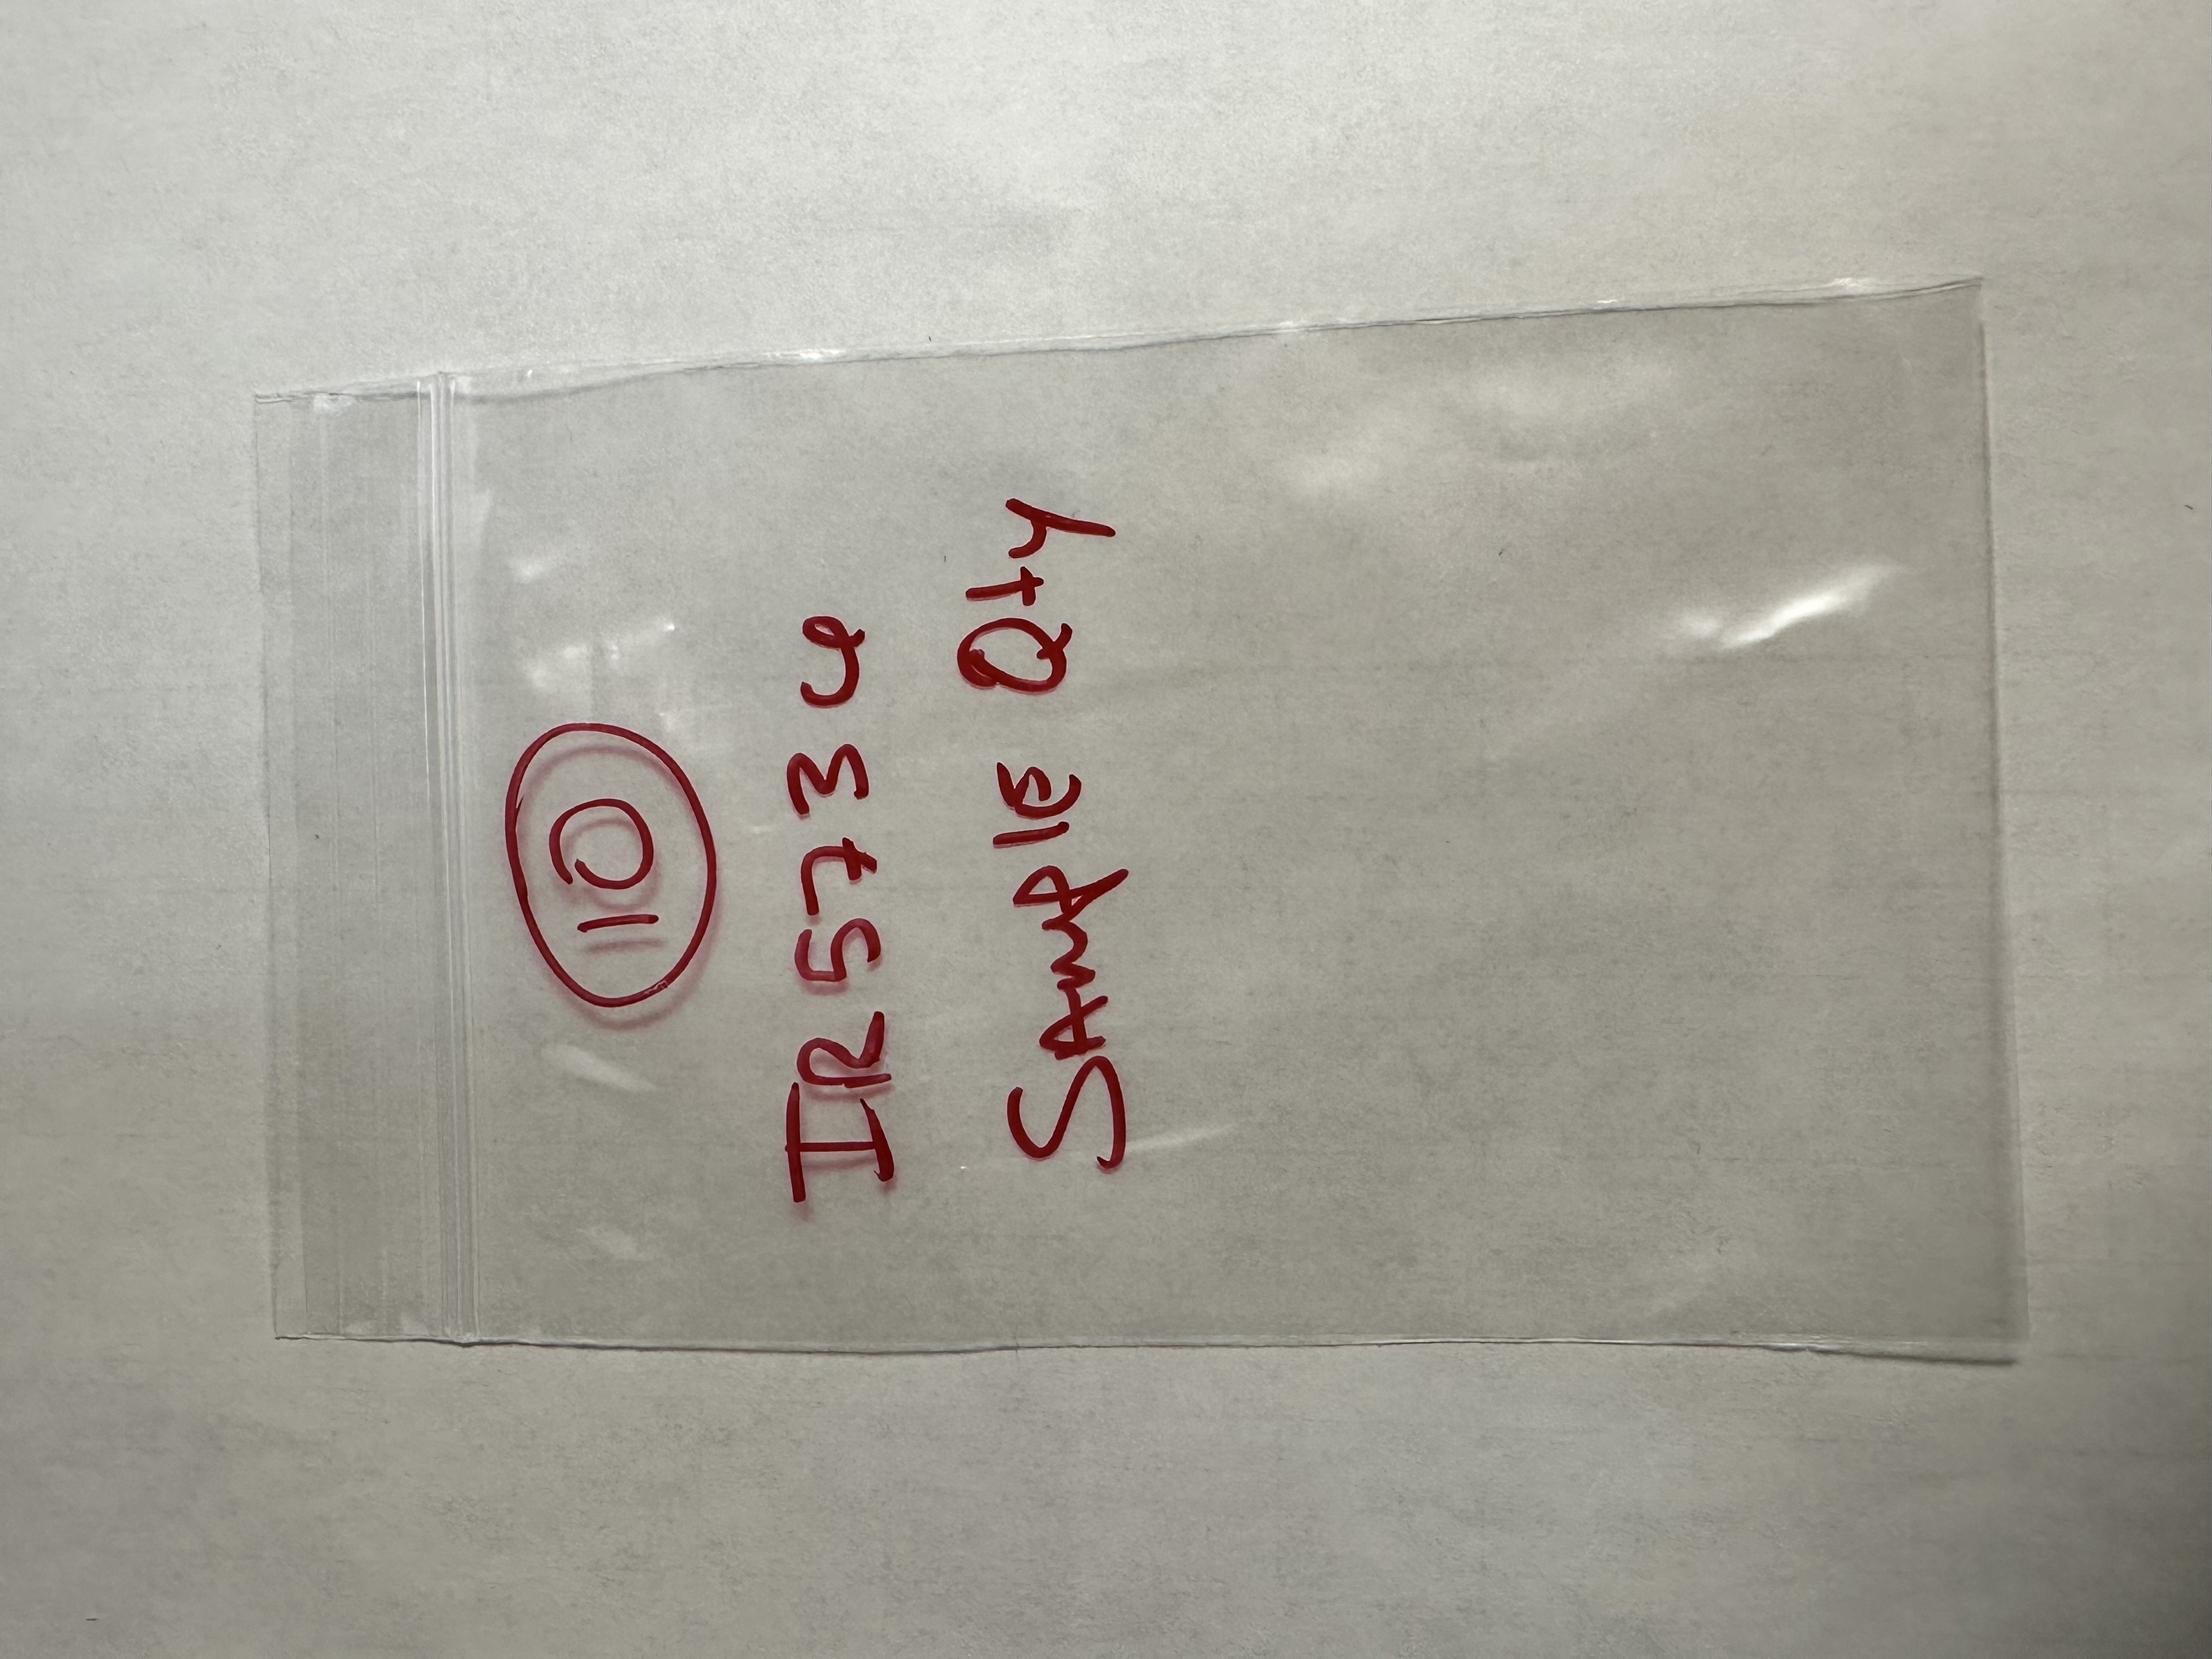
Select the minimum quantity stated from the lot and add them to a bag labeled with the minimum quantity and the item request number.
Sample Quantity
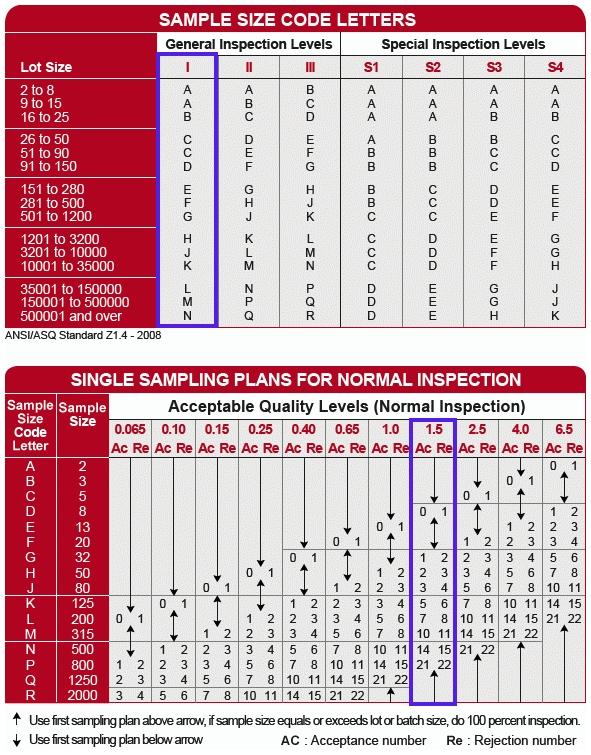
From the minimum quantity bag, selcet the sample quantity and number them with a sharpie. For sample quantities and acceptance quamtities refer to the table. Use general inspection level I and acceptable quality level 1.5.
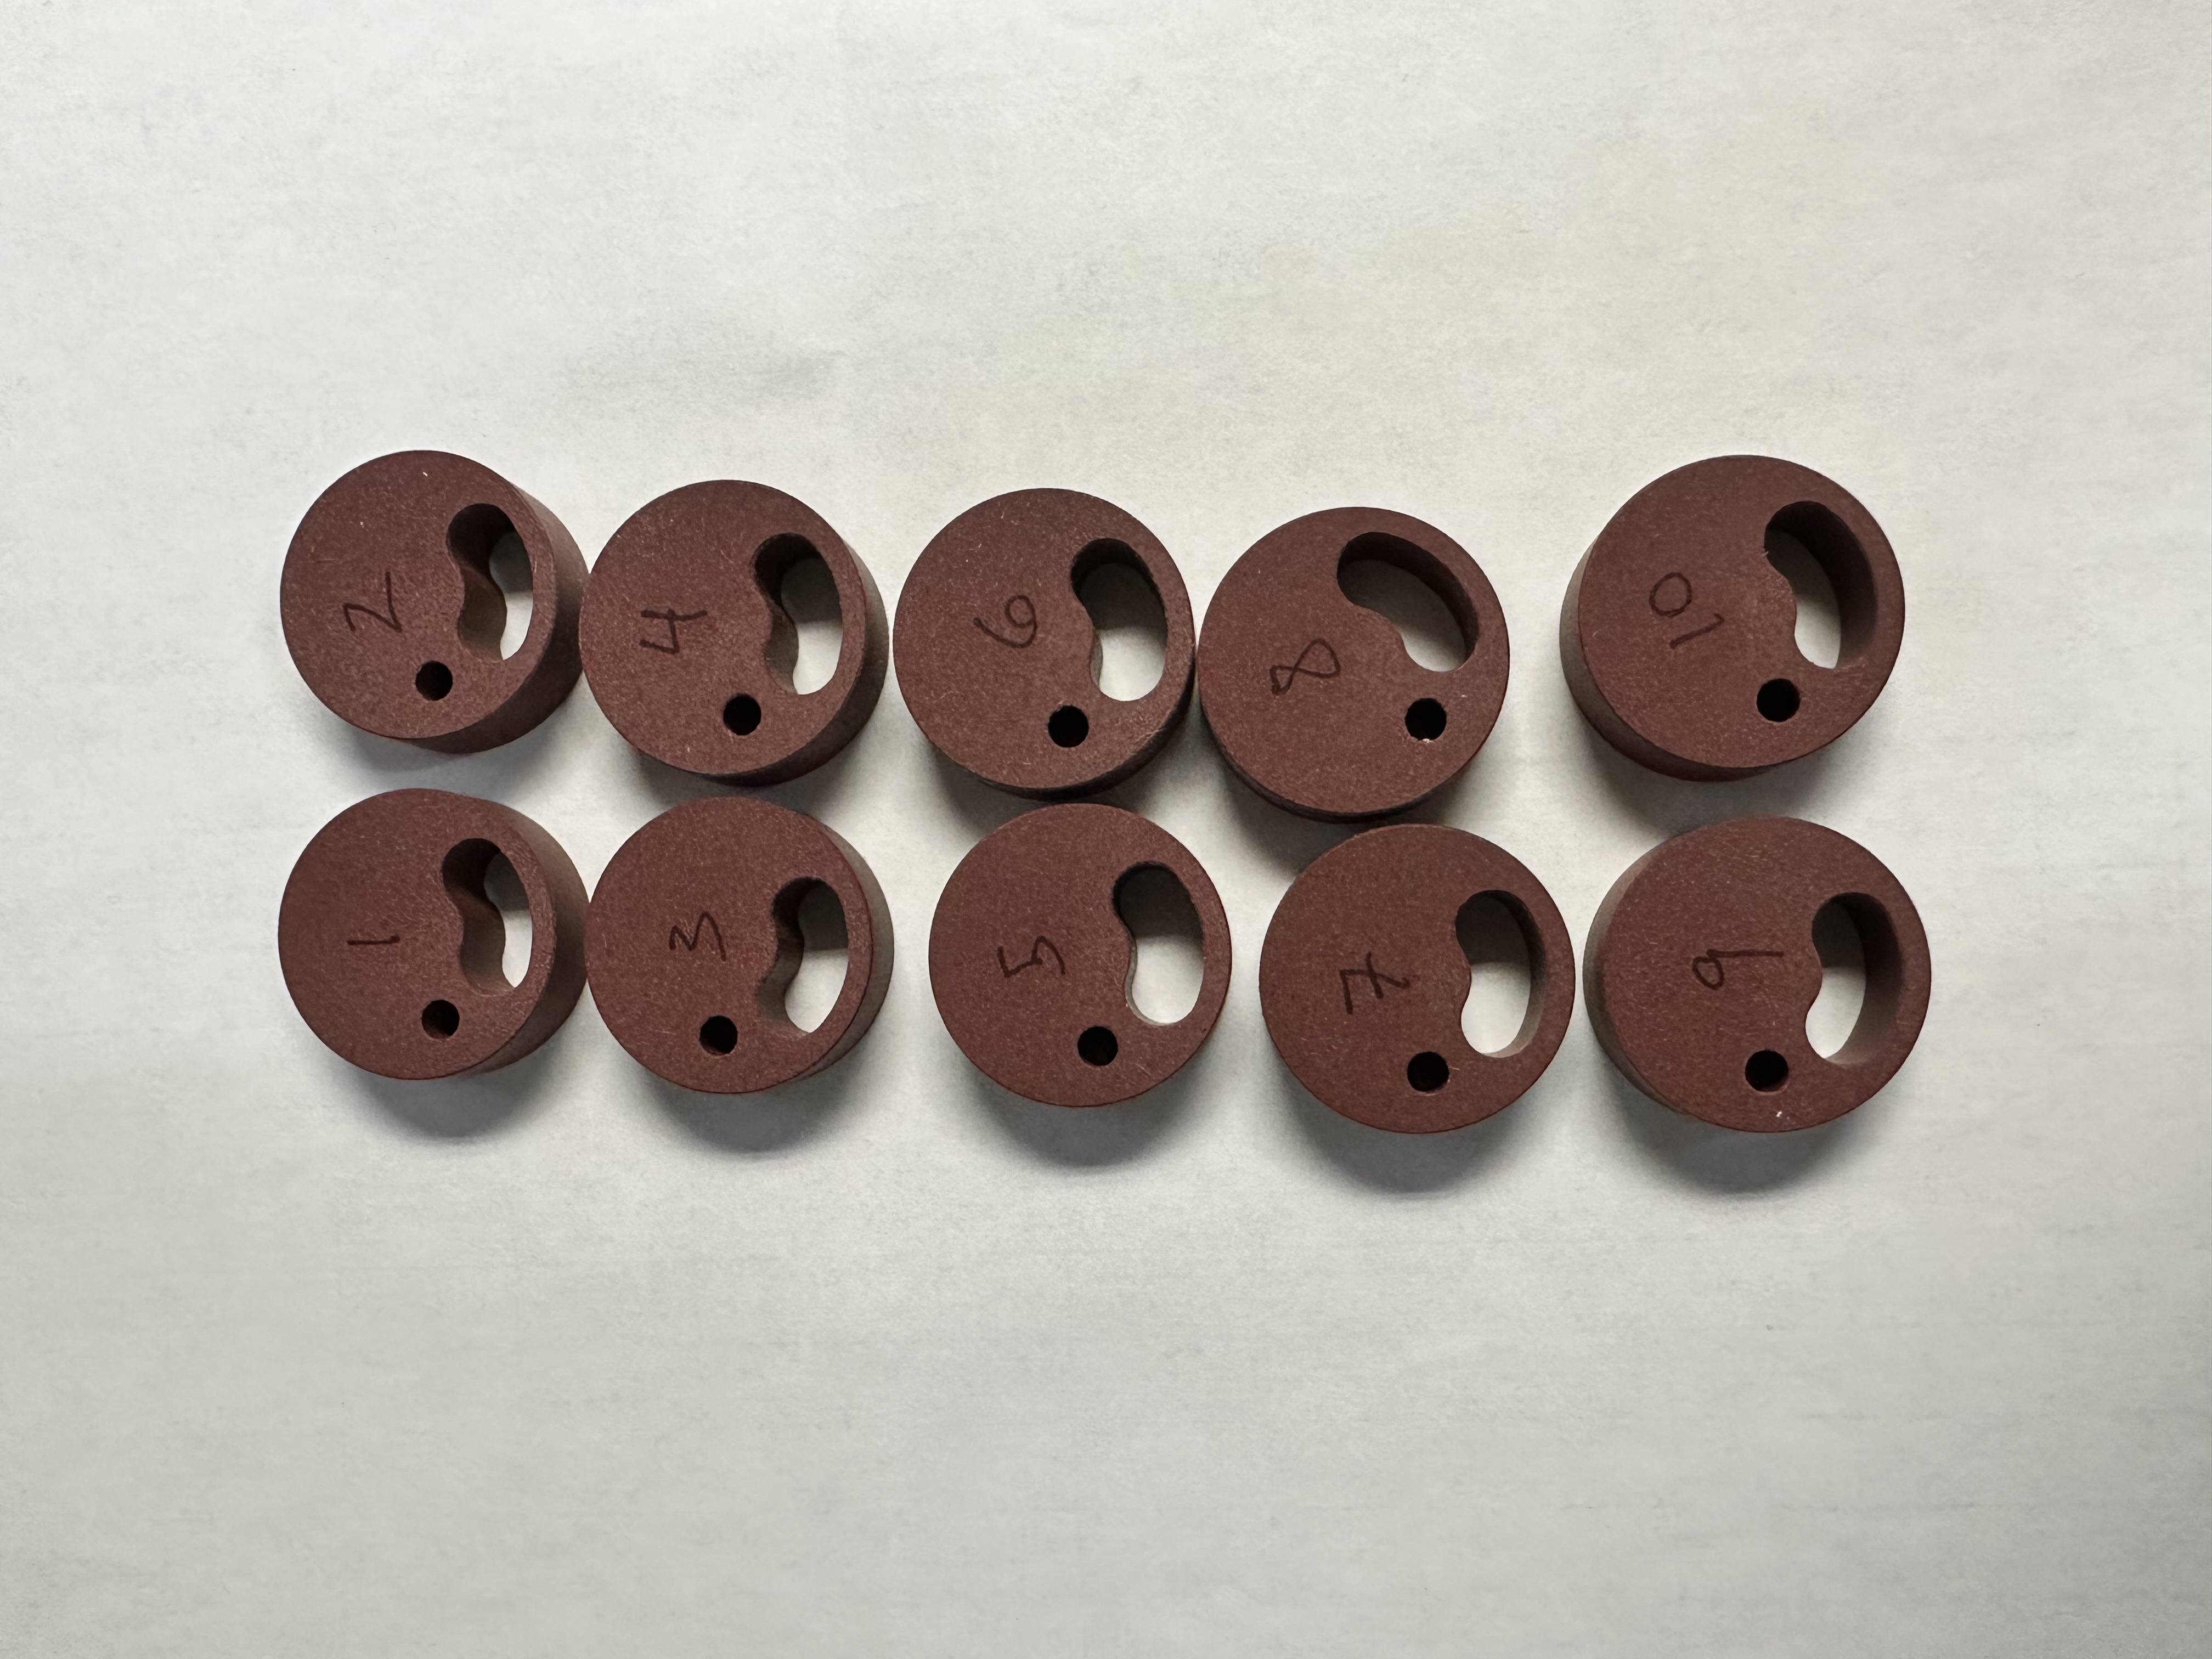
The sample items will be stored separately in a bag within the minimum quantity bag. This will keep the sample items separate from the rest of the lot to be used last in case they need to be referred back to.
Compare the dimensions of interest to each sample item and record the result. Each dimension will be labeled with a letter on the approved drawing. List the drawing value and the tolerance in the corresponding cell of the lot verification document.
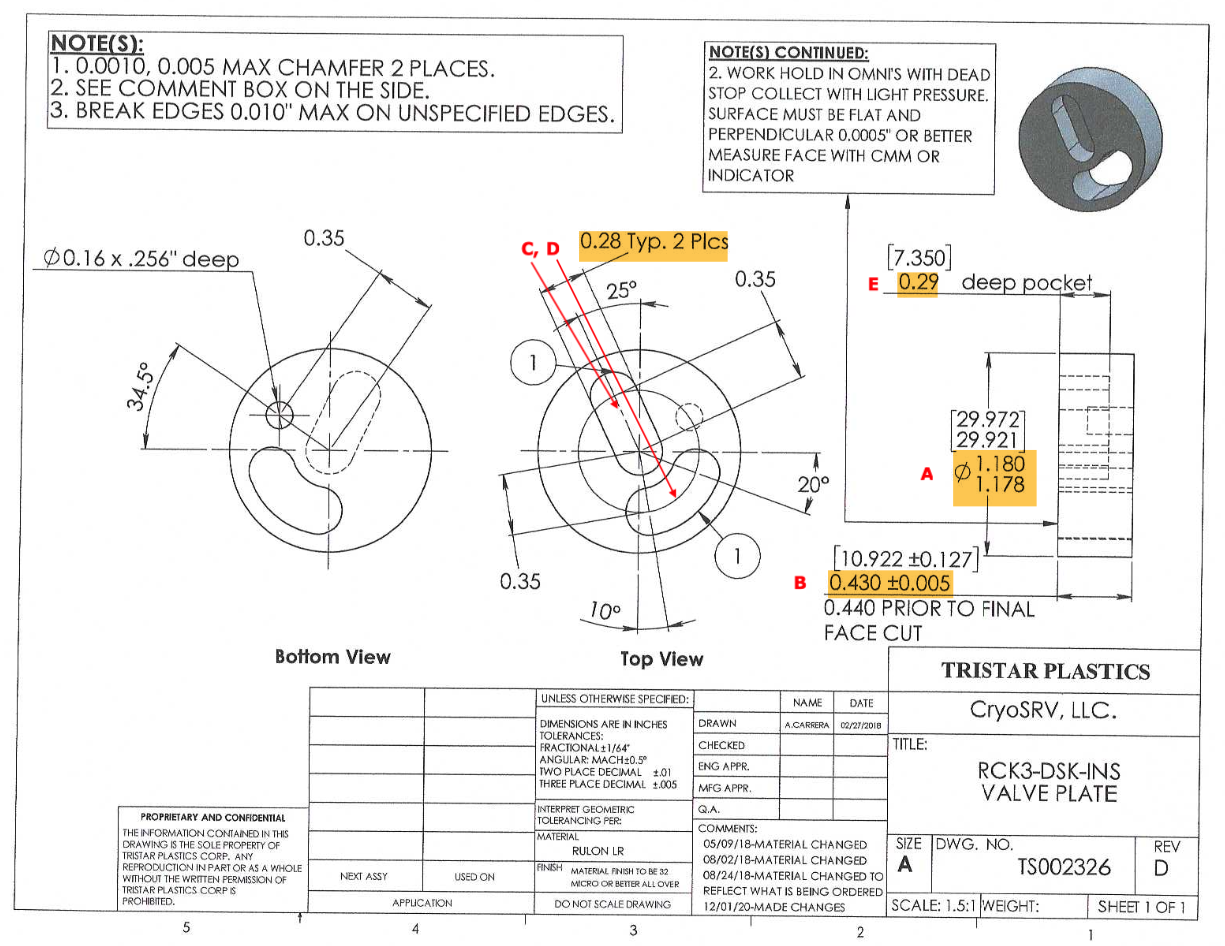
Note
If the approved drawing doesn't state the dimensions of interest explicitly, present the drawing to your supervisor in the morning meeting to establish them.
Using the appropriate measuring device, measure each location on the sample and fill out the lot verification document.
Warning
If the values being measured fall outside of the listed tolerance the item does not pass. If the quantity of items that fail are higher than the acceptance level, then the entire lot fails. Present these findings to your supervisor in the morning meeting to address the situation. This is outlined in the Failed Lot section.
After the sample items have been measured and recorded, return them to the minimum quantity bag.

Remainder Quantity
The remainder quantity will be left over after the minimum quantity has been allocated and the sample quantity is selected, measured, labeled, and bagged. This quantity must also be labeled and bagged before being transferred to stock. The bag must contain both the IR number, bin location as well as the item number.
Logging Lot Data
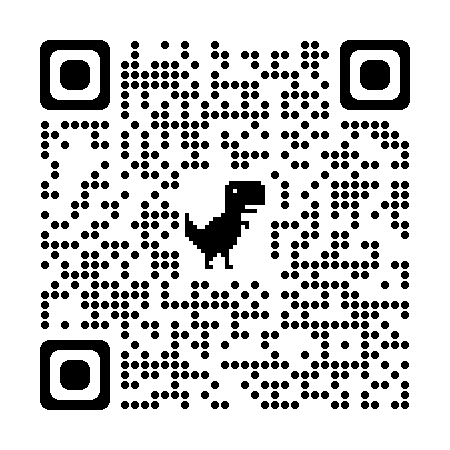
The information that is gathered and recorded on the lot verification document must be entered and logged into the database. The data is entered via Airtable form which can be accessed by this link Item Verification Form or by scanning the QR code below.
Failed Lot
If quantity of the failed items from the sample quantity fall outside the acceptance level for that lot size then the entire lot is FAILED. When this happens the information is logged and the lot with accompanying documents must be brought to the supervisor in the morning meeting for review. Depending on the situation, we may measure more sample items for a greater sample size or we may adjust the tolerance. If the items cannot be used we must return the lot to the vendor for replacement or reworking.
Passed Lot
If quantity of the failed items from the sample quantity fall within the accpetance level for that lot size then the entire lot is PASSED. After logging the data bring the lot to the logistics transfer shelf with the accompanying paperwork for logistics to process.