Warning
Incomplete Work Instructions.
CSW-71D
Take note of the color of the bag protecting the WO tag and also repair type written on the tag and printed out on the paper work.
Repair Type
Core Repair
Clear Bag Yellow Tag
The core repair will follow the standard repair laid out in order in this work instructions.
Customer Repair Warranty
Red Bag Blue Tag
The customer repair warranty will follow a custom repair process that involves troubleshooting the cause of failure without compromising the original condition of the helium compressor as we received it back from the customer. This custom repair process will be established in the morning meeting.
Warranty Repair
Red Bag Yellow Tag
The warranty repair will follow a custom repair process that involves troubleshooting the cause of failure without compromising the original condition of the helium compressor as we received it back from the customer. This custom repair process will be established in the morning meeting.
Purchase Analysis
Yellow Tag Red Bag
The purchase analysis will follow a custom repair process that involves verifying the capsule, heat exchange, oil separator, and electronics. After these parts are verified it is determined if the unit is acceptable.
Prerequisites
- Compressor test paperwork
- Helium compressor
- Megger Fluke Meter
- Serialized Tamper Seals
Product Information
When receiving in a helium compressor it is important to gather information about the unit as it was received. This includes the physical condition as well as the functionality. For the physical damage or visible defects images should be taken and uploaded to the Trello card. The other functional tests will be done in order.
A. Product Information
Notes From Field
Information that is recorded by the sales person will populate in the notes. This is information regarding the failure of the unit in the field or events that lead to its condition.
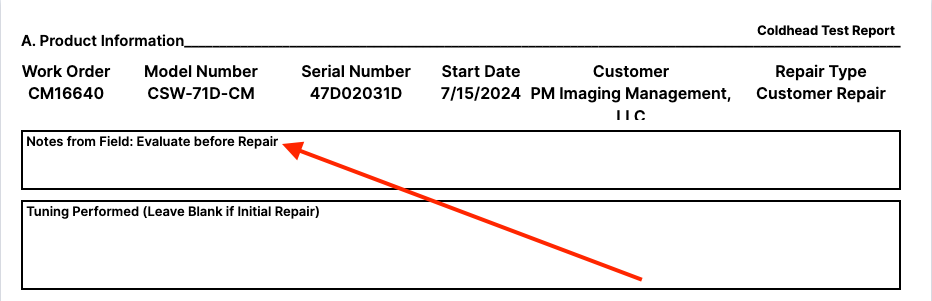
Tuning Performed
If this is an initial repair or evaluation this should be skipped. When beginning a new sheet to perform tuning, the action taken and the parts replaced are outlined here in this field.

B. Initial Evaluation Info.
Initial Compressor Pressure
The helium charge pressure is recorded from the what reads out on the pressure gauge. Use MPa as the standard unit of measure. Convert the value if necessary. Unit Converter Calculator
Capsule Resistance
The capsule resistance is taken at the lugs of the capsule itself.
Locate the enclosure where the lugs are located and remove the cover.
Danger
DO NOT ATTEMPT TO MEASURE THE RESISTANCE WITH POWER RUNNING TO THE HELIUM COMPRESSOR.
With the cover removed, use a digital volt meter to measure the resistance on the motor windings. Record the following configurations.
- A-B
- B-C
- A-C
- A-ground
Initial Comp. Hrs
The initial compressor hours will be found on the on the hour meter located on the front of the helium compressor. This model of helium compressor doesn't need to be powered for this function.
!(.png){ width="600"}
Component Serial Numbers
Note
If this is in fact a prior CryoSRV Rebuild the serial numbers for these units should already exist on the unit.
Record the serial numbers that are given on the components. If the compressor components need to have serial numbers assigned to them use the small blue tamper tags that have serial numbers on them.
Capsule Serial Number
The serial number for the capsule is located on the label.
If the serial number isnt legible, attach the issued serial number to the location imaged below for the capsule.
Heat Exchanger
The coaxial heat exchanger will not have a manufacturers issued serial number. Attach the issued serial number to the location imaged below for the heat exchanger.
Attach the serial number to the location imaged below for the oil separator.
Repair Instructions
The repair instructions will be pre-populated with information regarding any steps that will help with the repair. There are also customer notes located in the Trello card for reference on customer supplied units.